Showing posts with label fabric scrap management. Show all posts

Tuesday, March 13, 2012

My Creative Space...In Tatters

You can always tell where I am creatively by my bookmarks, pins, tumblr posts and flickr favourites. I am sure this stands for most people. Lately I have been on a big "using fabric scraps" kick. A few months ago I tore up many a vintage sheet and unused yardage thinking I would make a rainbow rag rug for Wednesday's play space. As soon as I tore it up I regretted the entire thing. The process of sewing all of those strips together and winding them in neat balls and then braiding them without tangling seemed impossible. So I packed up all the strips hoping I would find some simple projects to use them in. Only two obstacles lay in my way. The first was that most of the sheets and yardage were unwanted for a reason. The colours and patterns were either too drab or not inspiring enough to be used.  The other was the sheer volume of fabric, there was just so much of it. So the bags (and bags) of torn fabric strips just sat there taking up a lot of space.

So I googled and pinned and flickr'ed. Finally I have enough inspirational galleries that I will be done with my scraps quite soon. I have already used up about a quarter of them. Here are some photos to give an idea of what I have up to.

 This is what I am all about this week. The more poms the better!

 This basket took about three days. But it is huge. I made it to be a laundry basket or Wednesday's room. It is smaller than a big plastic laundry basket but big enough for a little girl's weekly laundry loads.
 The basket and pom poms are all made from vintage sheets.

 I spent a week wrapping plastic hangers from Wednesday's closet. Since we hang most o her clothing (PJs and tights excepted) She has a lot of hangers. I am only about half done, but I needed a break.
Some of the hangers I have even managed to embellish a little bit.

I want to share with you some of my favourite inspiration photos so that maybe you will be inspired as well.

Most recently, I have created a Flickr gallery called Big Love For Small Scraps. Here is a sample of the photos.


Big Love or Small Scraps Mosaic

1. Para a semana..., 2. weaved fabric basket - detailed, 3. curtains 006, 4. Scrappy Fabric Coasters, 5. Rag Rug Completed, 6. Pretty Little Pouch Full View - Option 3, 7. Scrap Fabric Curtain 4, 8. vintage feel, 9. scrap coil


Over at Pinterest, I have a board called Scrap Not, Lest Ye Be Scrapped. It looks something like this.

There is approx 50 or 60 great links to check out. I made sure that every pin links back to the original post. So you shouldn't have to do any creative searching to find the tutorials (if there is one) to go with them.

So what have you been up to? What is inspiring you to create and search these days? Why don't you link up your creative space?

Saturday, December 3, 2011

How To: Scrap Fabric Flower Accessories


What seems like ages ago, I gave away some vintage sheet fat quarters and a fabric brooch I made as a bonus. I was asked by a couple ladies how I made it so I put making a tutorial for it on my to-do list but, as most things blog related last year it was de-prioritized. Well, since I began my fabric scrap management series, it was re-prioritized and finally completed! *yay* Would you like to make one (or five) o these little beauties? Sweet!

Gather ye materials
Fabric scraps cuts into circles (What size, how many different sizes and how many circles is dependent on what you want your flower to look like.) I like six per layer, sometimes eight and even five works.
Coordinating felt scraps (Or now that I think about it, leather and vinyl would look good too.)
Baubles for the center of the flowers (Buttons, brads, pins etc.)
Findings for the back (Brooch clips, alligator clips etc.)

Gather ye tools
Sewing machine (Not necessary but I don't enjoy hand sewing that is not purely decorative)
Needle and thread
Glue gun & glue sticks

Begin at the beginning...
Fabric Flower Tutorial Step 1 and 2
Step 1: Cut circle.
Step 2: Cut the circle in half.

Fabric Flower Tutorial Step 3
Step 3: With right sides together, sew around curved edge.

Fabric Flower Tutorial Step 4
Step 4: Turn right side out.

Fabric Flower Tutorial Step 5
Step 5: Thread a needle, sew a loose running stitch along bottom of turned circles. Pull tightly.

Fabric Flower Tutorial Step 6
Step 6: Continue threading petals onto needle and thread until you have enough petals or a single layer. Tie of after each petal if you find them unraveling to quickly. Tie after last petal before you tie two ends together.

Fabric Flower Tutorial Step 7
Step 7: After you have tied the two ends together, arrange your petals. This might take a bit of shifting and such. I also stitched a few petals in place because I didn't like how they had gathered. You'll figure it out once you get playing with it.

Fabric Flower Tutorial Step 8
Step 8: Repeat steps 1-7 until you have all the petals and layers you would like for one flower.

Fabric Flower Tutorial Step 9
Step 9: Play with the centers. Try a few things out. Here I tried a vintage green button, an extra large white brad and finally a button pin.

Fabric Flower Tutorial Step 10
Step 10: Cut a piece o felt for the back about a half inch smaller than the largest flower. Begin layering and gluing.

Fabric Flower Tutorial Step 11
Step 11: When gluing, add the smallest bit of hot glue (or tacky glue) around the center of each flower.

Fabric Flower Tutorial Step 12-14
Steps 12-14: Attach your desired accessory piece. If you use a brooch pin, I like to add a piece of felt to cover up the glue. But I also made one into a hair clip and one into a wrist corsage. And you're done!

Fabric Flower Tutorial
Voila! Your new fabric scrap flower accessories! Now go make a billion for your little girl(s) and sister(s) and mama and grand mama and co-workers and BFFs and acquaintances! 
 

Thursday, November 24, 2011

How To: Patchwork Mug Rug

It's as if a place mat and a coaster had a baby!
A couple weeks ago I made a post about managing your fabric scraps, it pretty much just boiled down to having a plan or those scraps and then cutting them to the sizes and shapes you need them for for easier storage. I found a use for my bigger scraps. Mug rugs! Super cheerful little bits of patchwork. So easy that I made nine on my first try. :)


Seriously folks. They don't even have to be a certain size. I started out with a template but eventually just worked with what the fabric scraps were giving me.
Most of these are made with vintage sheets. Except for the black and white Ikea print you see in the first photo and a piece of fabric I used in the mug rug for the tutorial. Oh yeah, and a couple of these are backed with a cut up mans shirt sleeve. But mostly beautiful, cheerful vintage sheets! Would you like to make some for yourself? Awesome!

Gather ye materials
Fabric scraps of varying sizes
Some sort of batting material, I used the bottoms of a pair of fleece pants that were cut into shorts and then felt when I ran out of fleece.
Scissors, pins, thread
Sewing machine is ideal for this but not necessary

Note: Finished size of the mug rug pictured in the tutorial was roughly 8.5x8 inches.

Step 1. Gather your pieces and find an arrangement you like.
Step 2. With right sides together sew your pieces together. (Red line is for emphasis.) I like to use my zig zag foot as a guide which is roughly 1/4" I think.  Continue until all of your pieces are joined.

Step 3. Press your seams flat. (Does anyone else use a towel as an ironing board?)
Step 4. Cut your batting/fleece/felt to one inch (length and width) less than your patchwork. E.g.: I your patchwork is 9x9 you would cut your batting to 8x8.
Step 5. Turn over and pin.
Step 6. To quilt the batting to the patchwork, I top stitched some echo stitching along the seams.
Step 7. Turn your quilted piece over and square up your edges.
Step 8. With right sides together sew the backing to the quilting around three sides. Leave one size open or turning. Trim and clip corners.
Step 9. Turn. Use a chopstick or paint brush to get your corners out nicely. Fold the opening into itself so that it looks just like the photo. Press it closed.
Step 10. Top stitch around the perimeter. And ta-daa! You're done!

Groovy baby. Groovy.

Wouldn't these make great Christmas gifts? You could add in a handmade coffee sleeve and a gift card to the recipient's favourite coffee shop. Or with a nice mug and a bag of their favourite coffee or tea! The possibilities are endless!

I hope you enjoyed the first tutorial in my Scrap Management series. If you make one (nine) I would love to see them! Cheers and happy sewing!

P.S. Don't forget to enter my giveaway for MyMemories Digital Scrapbooking software!

Tuesday, November 8, 2011

How To: Manage Your Fabric Scraps

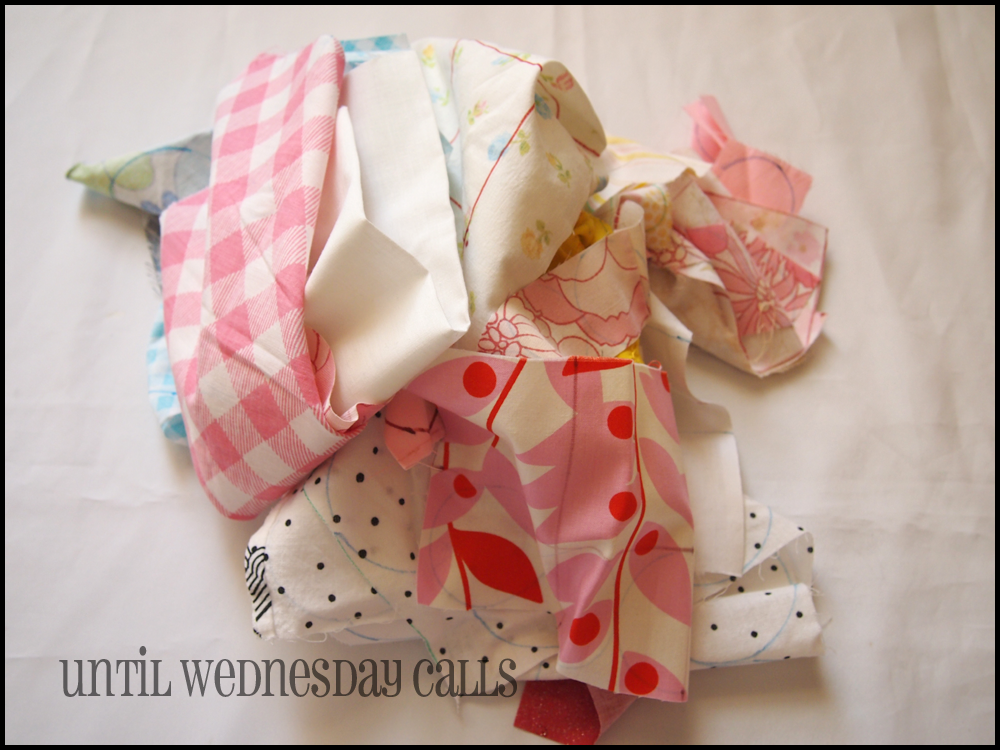
When you create timeless works of art as we all do, you also generate something else; scraps. Yup, I said it. That five letter word, scraps. Every crafter defines scraps differently. Myself, I define scraps as any pieces of fabric smaller than a fat quarter (It is not as generous as it sounds.). I have a couple systems for storage such as the jar of long wide scraps and those smaller than charm squares which are mostly used to adjust tension at the beginning of a project. The ones that are closer to a fat quarter than a charm square in size are folded and stacked in a small pile and kept at arms reach for small accessory projects. But what do I do with them when my jar is full and my stack is no longer easily accessed? Well, I start by looking a for a couple good scrap projects. Planning is vital. The above pile will be turned into two things.
You might know Sandi by her blog name Portabello Pixie. This book is a gem! I have yet to make anything from it but it is a constant source of inspiration. I will be making the Ruffled Head Scarf found in Sandi Henderson's Sewing Bits &Pieces. I cannot seem to ind a picture of it anywhere and the book pages are too shiny for my scanner. But it is a pretty little patchwork number.Which is to say, I will be cutting out 3"x3" pieces of fabric until I have enough for the head scarf construction.
And lots of these. That is to say lots of fabric flowers made with technique. Which I will be sharing this weekend! I was asked a couple times about how I made this pretty little brooch and I thought it high time I show everyone. So come back and check us out m'kay!

Now take your patterns and start tracing. I usually start with the biggest piece first and once I run out of space I go to my next size. Like this piece, first I traced my head scarf squares, then I traced some medium sized circles. I actually had three circle sizes I was tracing.
Keep tracing until all of your scraps are covered in circles and squares and petal and leaf shapes etc. And you have a lovely pile sitting on your work station.

Cut, cut and cut some more. I wish I had a pair of spring loaded Fiskars scissors for this job but having a razor sharp pair of Fiskars classic orange handled did me just fine. These are my piles about half way through. I doubled each of them at least. Now they are ready to be sewn patchwork style into a ahead scarf (Or two) and made into brilliant flowers for hair clips, brooches and all manners of accessories.
Alas, due to the nature of cutting so many circles, my scraps still had scraps. But I am okay with that. What I do with these is keep them in a zippered pillowcase and use it along with stuffing for felt pieces and pillows etc.

For me, scrap management boils down to storage until the scraps become a small stash and then planning what I will do with them.  Sometimes, I do all these steps as the scarp comes across my table. But usually, like yesterday it is a say long affair. Now, hopefully the weather cooperates with me tomorrow and there is ample lighting for tutorial photos. *fingers crossed*

What do you do with your scraps?