Monday, September 13, 2010

My Crafty Weekend - Rain Rain Go Away

Good day my crafty friends! I hope you had a fabulous week ending with a fabulous weekend. Ours was a bit of ho hum due to some serious cloud cover but Saturday brightened our spirits with some sunshine for a little girls birthday party. I cannot think of a better reason for some sunshine can you?


This is where my creative space has been all weekend though. I cannot wait to actually see the results, I am so excited! I also worked on more singed flowers. I came up with a design that I call the singed lotus and will be sharing the tutorial tomorrow (hopefully). It really is super fabulous!

Last week some fabulous links were entered. Here is a but a sample of the fabulousness you guys have been up to!

Janet of Janet of all Trades posts about this great Ikea hack (I have always wanted to say that lol). The reason I loved it so much was because she had the awesome idea to recover two at once. We all know how our craft scrapbooking decorating recipe sewing magazines can get out of hand right? Go here to see the tute to contain them prettily.

I have been seeing these toilet paper pumpkins everywhere since I saw this one last week. This one was made by Monica of Monzanita's Arts & Crafts. I loved both the simplicity of the project and her anecdote about searching them out for their precious cargo! Go here to read the entertaining post.

We all love books right? Seriously, in just a couple weeks you will see how much I do. But that is neither here nor there. What is, is this fantastic bookmark made by Tina of Twinkle Toes Bowtique. It is with a photo of your (or the recipient's) favourite person. Super great gift for grandparents yes? You can find the super simple tutorial here.

You guys are awesome. Such talented people indeed. And now it is time to show how awesome you are this week. Remember the one rule? Visit the link posted before yours and leave an encouraging comment. Super easy yes? Good. Now! Link up your creations. What have you been baking, building, roasting, sewing, painting, gluing or Mod Podging?! We would love to see. And, if you are feeling particularly awesome you can always scoop up a button to let others know where to find you!


Friday, September 10, 2010

Two for Giveaway Week #2

givweek2


Wow, I am really getting this one in under pressure! I have spent the morning prepping these prizes and I only moments ago finished taking the photos and uploading them! Wanna see? Ok!

twoprizes

Some of you that have been reading me for a little while know my love for working with vingtage linens. If asked in an interview about my favourite material(s) to work with I would answer "Vintage sheets and then denim." So, this week, I thought I would share that love and give away TWO prize packs! Up for this weeks draw are two vintage sheet five-fat quarter bundles and matching vintage(ish) buttons! I am a craft hoarder, and this was hard. But to show how much I love you, each bundle has a fat quarter from my most favourite sheet ever!

yellows

In this bundle of pretty pinks and yellows you'll notice on the top is the yellow sheet I have made so many wonderful things from already. And, as much as I love it, I felt I should pass on some of the sunshine.

blues

If you look closely at this prize pack you'll notice there is a fat quarter from the very sheet I made my winning skirt with. (For those of you who are just joining us, the denim and patchwork skirt in my header is the skirt I am talking about.)That fat quarter was hard to give up as well for it screams vintage to me and the colours are so soothing.

But, on to the giving away part! (See, I told you I love those sheets!) For a chance to win one of these fat quarter bundles you need only two things. The first is become a follower if you are not already. The second is tell me which pack you prefer and what you would do with it!

Just in case you have no idea what a fat quarter is (Like myself until a couple months ago) these fat quarters are Canadian fat Quarters or Diaper Cuts, meaning they measure 20x22".

Contest closes Midnight Thursday September 16 and winner will be announced Friday the 17th. Good luck and happy Friday! Draw is closed, thank yo so much for participating and I hope you come back for more great giveaways!

Thursday, September 9, 2010

Giveaway Week #1 Winner!


Drumrolll please! Are you excited?! me too! Okay, on with the good stuff!


The winner is bountifulblessings who said...

"You did awesome!! I, too, am sort of new to sewing and know how you feel, but giveaways are an awesome way to bless others! :-)Hope you pick me! My favorite colors are chocolate and blue (like the other comment) and I also have an Isaac - how funny."

B.B. There was no email address attached to your profile so if you could kindly get in touch with me with your snail mail particulars I would be happy to ship this out.

Thank you everyone for playing along, and I hope you come back tomorrow for a brand new giveaway!

Cheers!

Wednesday, September 8, 2010

Wednesday on Wednesday

Our little tree hugger
"Take a picture of me hugging the tree Mommy." Our little tree hugger had a lot of fun on her very first camping trip. And so did we. For those of you interested in a few candid snap shots you can view the set here at Flickr.

Tuesday, September 7, 2010

How To : Vintage Halloween Garland

Before you say anything I know! I know that Halloween is months away. Two to be precise, and to celebrate I thought I would post my first Halloween tutorial! I love Halloween, I love the costumes, the parties, the trick or treating (Which I did off and on until I was twenty!)the decorations and of course watching Wednesday get excited about it is wonderful as well.


hanging garland


Pretty sweet right? Sorry if the photo is kinda meh, but I have yet to learn the finer art of garland photo taking. Moving on. The images were all courtesy of The Graphics Fairy. I found her site when I was searching for Alice in Wonderland Images but hadn't been back to it. When it popped up in a search for vintage Halloween images, it was a match made in heaven. I didn't need to look elsewhere because I found all of the great images. I recommend visiting her site if you haven't already.

This craft is great for many reasons. The first being it's nearly free-ness. And if you have all the materials on hand like I did; it pretty much is. The other awesome thing is the recycled content. The graphics can be printed on scrap paper and upcycled box board is used to back said images. Plus tea and jute, very natural. Okay, enough talky talky, let's get to the crafty crafty.
Materials:
Paper
Vintage images (I do provide some but you can always google more)
Recycled box board
Mod Podge
Jute twine
Black and orange ribbon
Tea bags
Black embroidery floss
Scissors
Embroidery needle


Print SheetsPrint Sheets

Click here for the first image and here for the second in a larger size that prints on letter size paper.

First things first, collect your clip art and re-size accordingly so they print out on letter sized paper. For your convenience I have shared the two sheets that I made up. Click on the links to take you to print sized copies.

cut out printed images
Once you have printed your images, cut them out.

collect boxboard
Collect your box board.

glue images to cardboard
Glue images to cardboard,but learn from my mistake, glue to printed side of boxes so that your painted side isn't slick.

steep tea bags
Steep tea bags.
dab tea bag
Squeeze tea out of tea bag and dab it on the image.

splotchy tea
If you have the patience to do this in layers, it looks really good when you're done.

Dried tea
Once the tea has dried cut out the images.

Turn and paint
Turn images over and paint the reverse side black. This took two coats for me because I glued them to the wrong sides.Don't worry if some paint end up on the front of the image, it lends to the aged look.

mod podge front
Once paint has dried, apply one coat of Mod Podge to front of image.

mod podge reverse
When the Mod Podge on the front is dry, apply a coat to the painted side.

Turn after painting
This is after the Mod Podge has dried. See how the black ink has popped out a bit and the black paint splotches look awesome. What a happy mistake.

looped end
Cut three pieces of jute twine roughly six feet long. Loop together and knot at one end. I made this knot big enough to fit over a doorknob to aid in braiding.

Braided Twine
Once you have braided the length of twine and looped the other end in a knot for hanging, you can add your ribbon now by wrapping it around the twine. I waited until after I hung the images though.

insert needle through back
To hang images on the twine and knot, thread your needle with black floss. Insert needle through back of image.

needle in twine
Insert needle through front of twine and tie to the knotted end of the image.

knot thread tightly
Knot thread tightly.

threaded closeup
Trim.

Halloween Cut Out close-ups
Close-ups of the images. I think they look fab-u-lous!
That is all she wrote! Have fun crafting!

Linking to some of these parties as well as:


And I just discovered Iron Crafter @ Fireflies & Jellybeans and it just so happens the round five secret ingredient is cardboard boxes! How much of a super awesome coincidence is that? So I am adding the Iron Crafter button to my post to be considered for judging!

Monday, September 6, 2010

My Crafty Weekend - Labour Day Edition

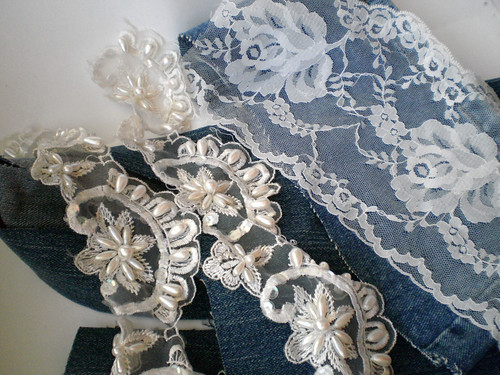
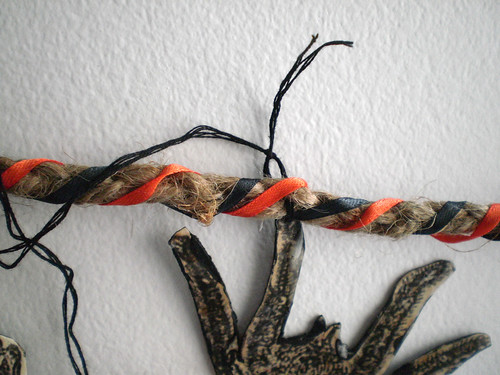
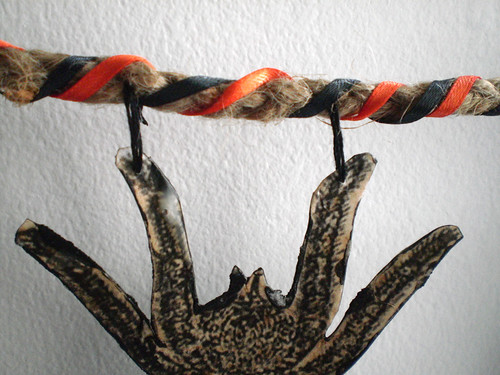
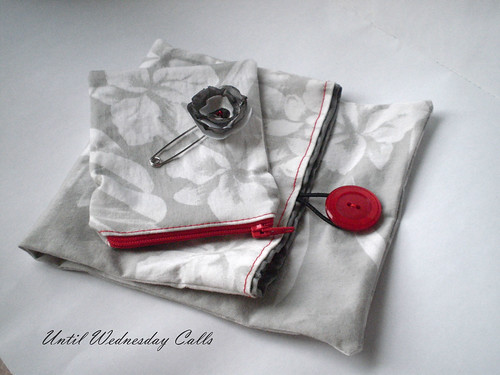
Happy Labour Day fellow crafters! Lately I have been spending my spare time burning polyester ribbon. Why you ask? Well, I finally had all of the supplies to attempt some burnt roses and well, like Lays potato chips, you can't make just one.

purple & white

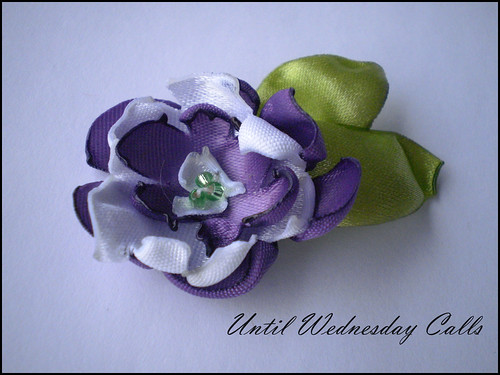
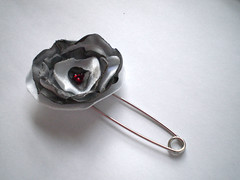
Pretty special yes? I only have a photo of one because I have been waiting for better light for a couple days now. We have had on and off showers all weekend. But you wait, you'll be seeing oodles of them soon enough! I love how they look, how easy they were to make and how when you make one, it inspires you to make another one and another one and yet another one. Super awesome fun times.

There is a learning curve, I think I spent about a half hour melting polyester before I finally got the hang of it. Worth it in the end though. Because now I can make lots of hair pieces, necklaces and brooches. really, the possibilities are endless!

Speaking of endless possibilities, here are a couple fabulous links from last week!

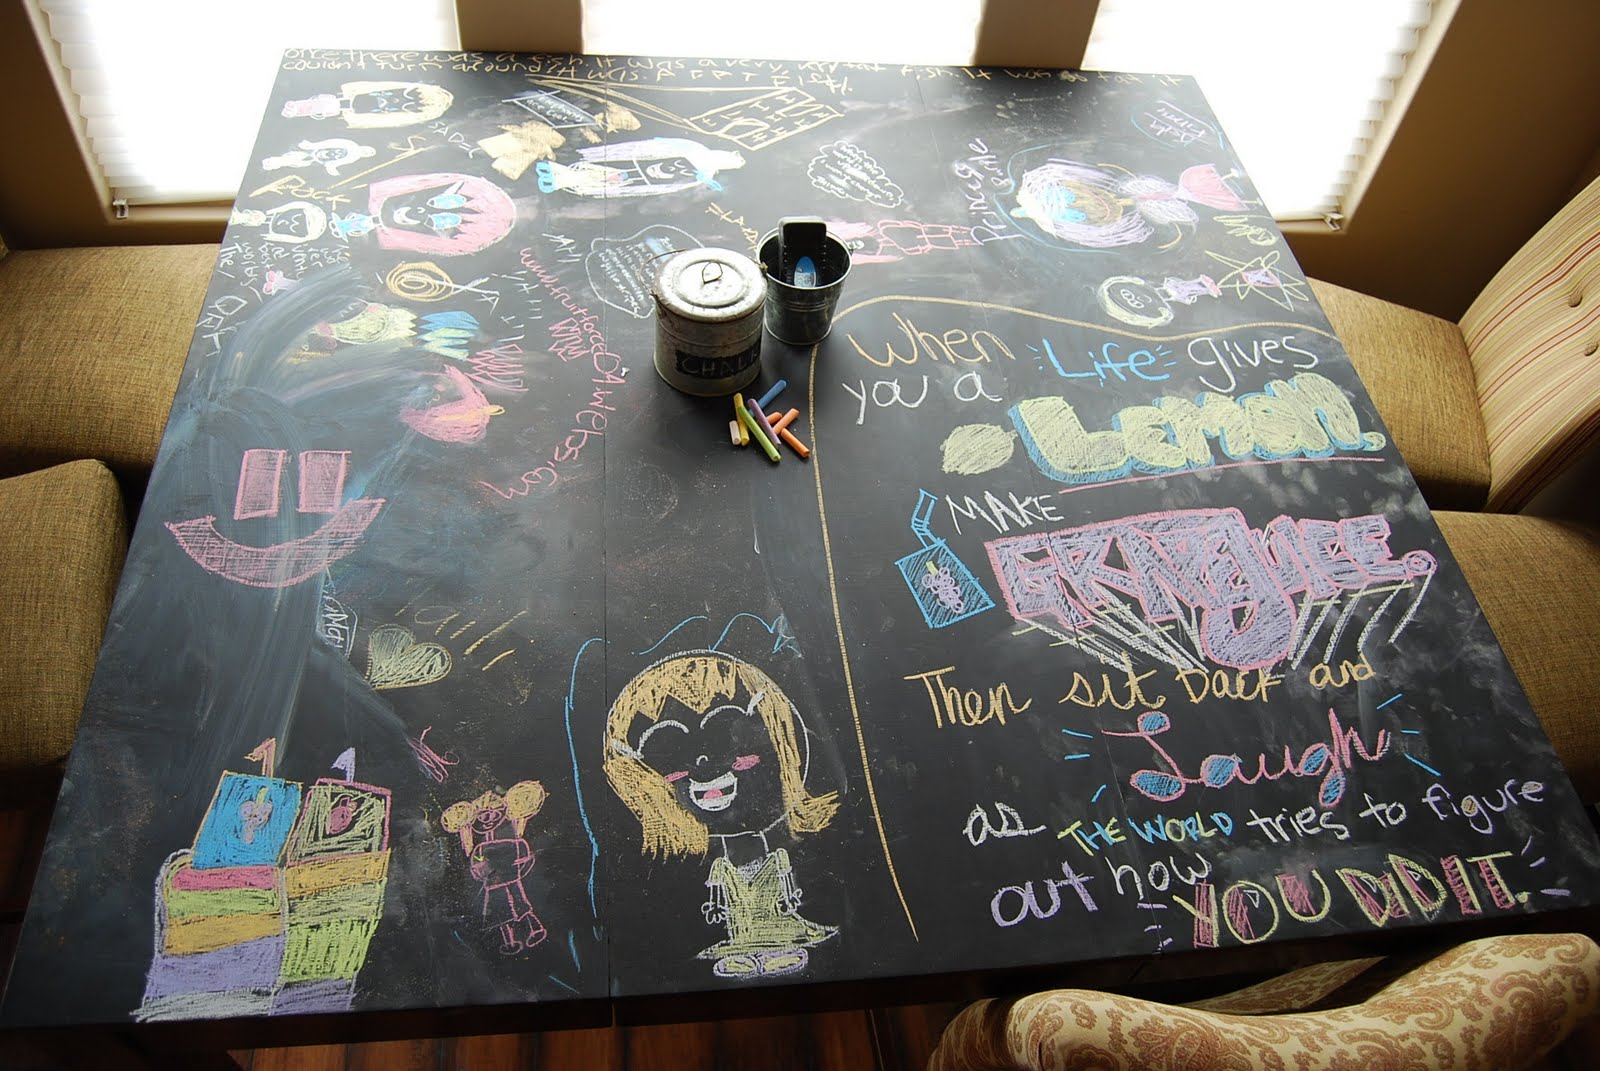
This brilliant number was created by Lori of Paisley Passions. Who doesn't love chalkboard paint? And a chalkboard paint project that aides in math homework, well sign me up for two! To learn a few helpful hints about working with chalkboard paint, visit the post here.

Melissa of 
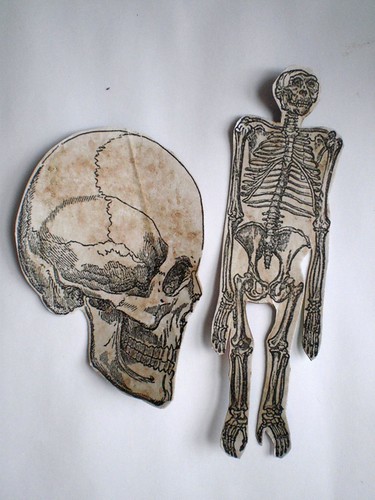
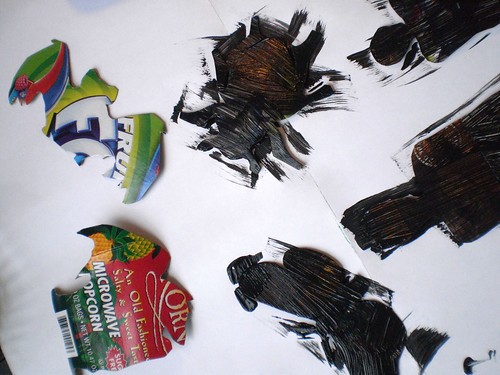
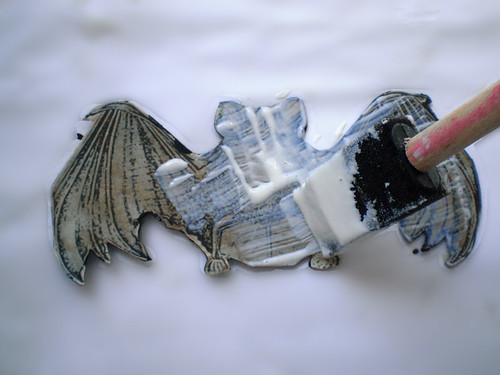
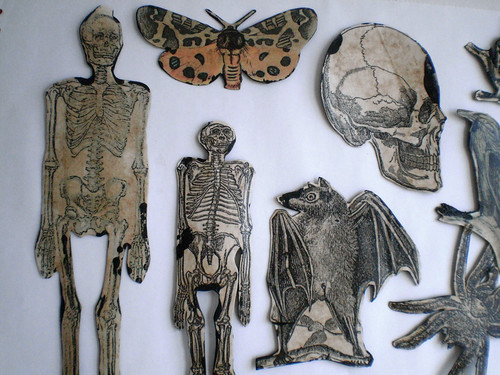
Those Northern Skies has a fabulous link party called My Creative High. Last week for her creative high she posted about this whimsical art made from recyclables. I love it. It makes me want to run out and buy some Krylon for plastic and then raid a few recycle boxes. Visit here to read more about it.

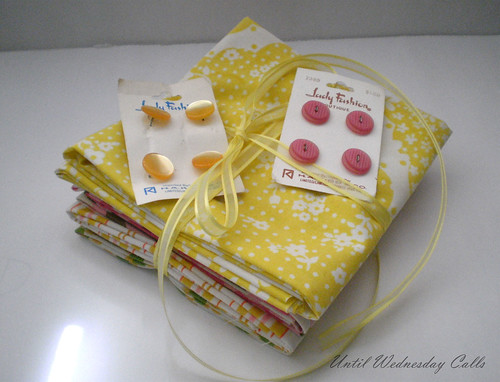
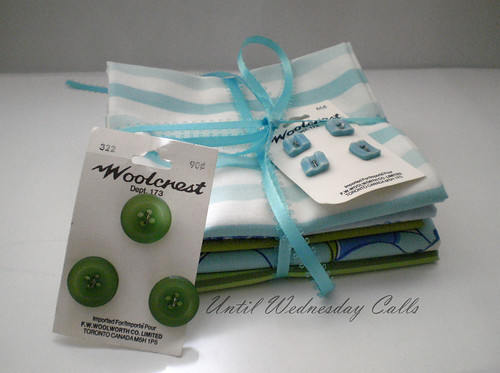
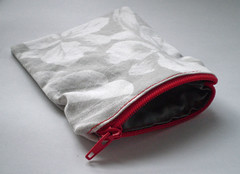
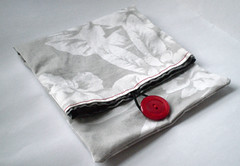
These two pouches full of goodness were made by Michelle of 
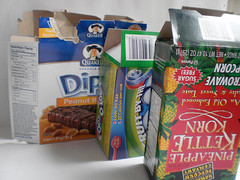
Falafel & The Bee. She made the pouches as gifts for her teenage niece. I have two words for the fabric and they are bad-ass! fabulous use of a Halloween tablecloth! Visit her blog to see more pictures.

So what have you been crafting,sewing,baking,painting and building these days? Shaer with us. The rules are simple,link up your project below and visit the link previous to you and leave a fabulous comment. Too easy right? I know! If you need more of a challenge, you could always add my button to your post as well.


Friday, September 3, 2010

Giveaway Numero Uno!

givweek1
Are you excited? I am! I am also a little nervous so we should just do this!

Combination Prize


The first giveaway is a three piece set I made a couple weeks ago. I had opened up my box of clothing cast-offs and there were two grey and white pant leg bottoms my mom had kindly donated to my cause. I was instantly inspired to make a folding clutch. (Pant legs make the perfect folding clutches.) I rooted through my stash and found some really nice grey lining fabric and when it came time to add the button I was inspired by some beautiful vintage red ones I had collected on a recent thrifting trip.

Singed Rose Pin
Red Zippered Change PurseRed Button Clutch

I love the colour combination here. the red button, red zipper and red beads on the flower pin just pop against the greys and white. The pieces were all super simple to make, but I am nervous about handing them off. I am relatively new at this sewing thing and I am a little self conscious about the quality. But, having said that, I really like these pieces and I hope you do too!

To be entered in the draw for these lovely items, I require only two things. The first is be a follower. The second is comment telling me your favourite colour combination(s). That is it, easy peazy lemon squeezy!

I will draw a winner on Thursday September 9th. And on Friday I will announce a new giveaway!
Draw closed, thanks so much for playing!

Thursday, September 2, 2010

Giveaway Goodness!


I meant to post this yesterday, but with all the camping hoopla, well I forgot! But, here it is! What is it? Well, for the entire month of September I will be holding a giveaway every week! I know, crazy right?! Lots of different things too, things I have made, things I like and things from people I have never met!~ beginning tomorrow I will announce a draw every Friday until the end of September. So, you will have to check back often, and enter often!

And, if that is not enough for you as a completely unrelated but super duper awesome coincidence, The Sewing Dork is hosting her first ever Dork-A-Thon complete with giveaways! I love her stuff. She is probably the most generous blogger on the planet so it would be super if you stopped by her place and entered a few draws as well!

Tuesday, August 31, 2010

Wednesday on Wednesday

bucket head

bucket head

Around here, we keep the toys outside the tub, and wear the buckets. How do you have fun in the tub?