
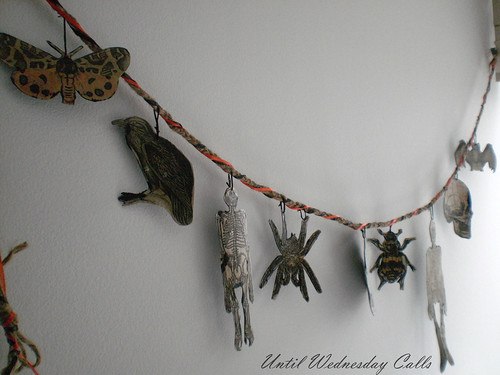
Pretty sweet right? Sorry if the photo is kinda meh, but I have yet to learn the finer art of garland photo taking. Moving on. The images were all courtesy of The Graphics Fairy. I found her site when I was searching for Alice in Wonderland Images but hadn't been back to it. When it popped up in a search for vintage Halloween images, it was a match made in heaven. I didn't need to look elsewhere because I found all of the great images. I recommend visiting her site if you haven't already.
This craft is great for many reasons. The first being it's nearly free-ness. And if you have all the materials on hand like I did; it pretty much is. The other awesome thing is the recycled content. The graphics can be printed on scrap paper and upcycled box board is used to back said images. Plus tea and jute, very natural. Okay, enough talky talky, let's get to the crafty crafty.
Materials:
Paper
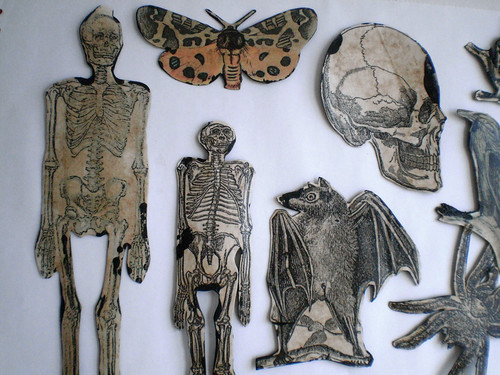
Vintage images (I do provide some but you can always google more)
Recycled box board
Mod Podge
Jute twine
Black and orange ribbon
Tea bags
Black embroidery floss
Scissors
Embroidery needle
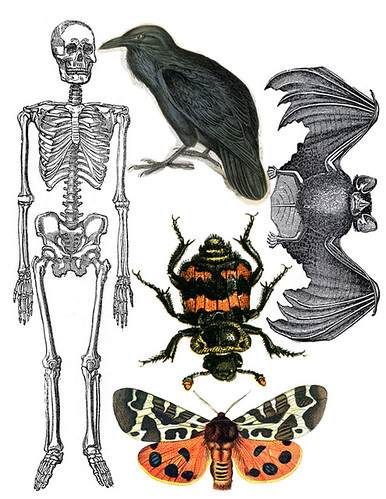

Click here for the first image and here for the second in a larger size that prints on letter size paper.
First things first, collect your clip art and re-size accordingly so they print out on letter sized paper. For your convenience I have shared the two sheets that I made up. Click on the links to take you to print sized copies.
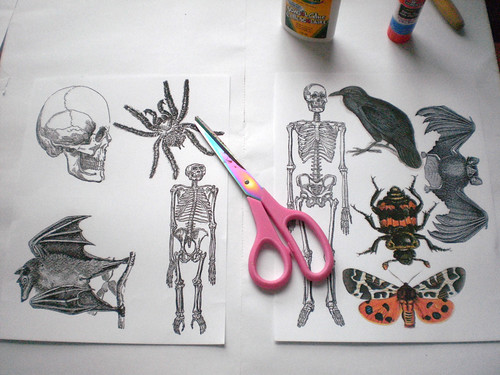
Once you have printed your images, cut them out.
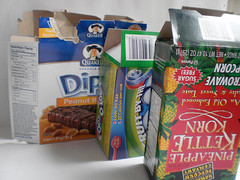
Collect your box board.

Glue images to cardboard,but learn from my mistake, glue to printed side of boxes so that your painted side isn't slick.
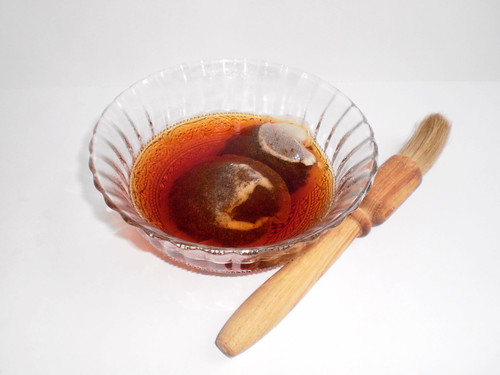
Steep tea bags.
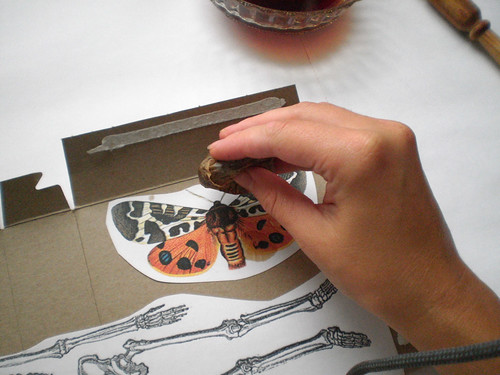
Squeeze tea out of tea bag and dab it on the image.
If you have the patience to do this in layers, it looks really good when you're done.
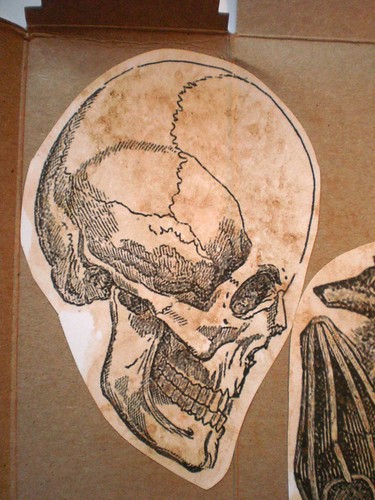
Once the tea has dried cut out the images.
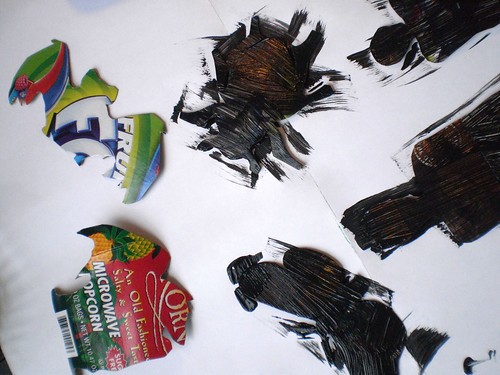
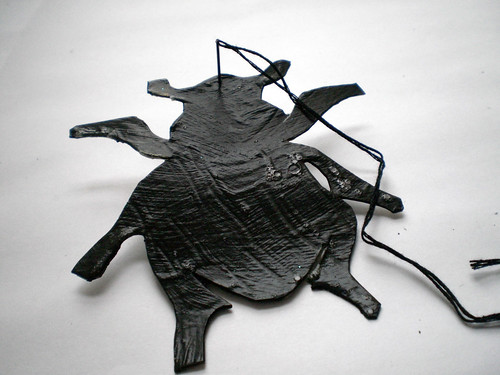
Turn images over and paint the reverse side black. This took two coats for me because I glued them to the wrong sides.Don't worry if some paint end up on the front of the image, it lends to the aged look.
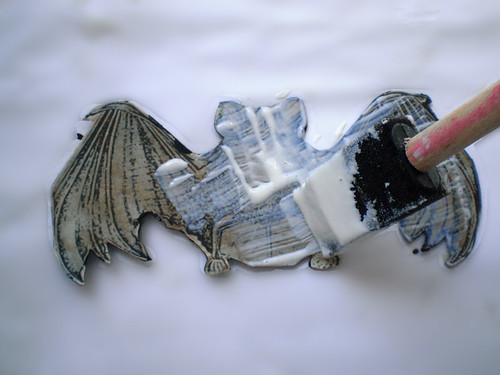
Once paint has dried, apply one coat of Mod Podge to front of image.

When the Mod Podge on the front is dry, apply a coat to the painted side.
This is after the Mod Podge has dried. See how the black ink has popped out a bit and the black paint splotches look awesome. What a happy mistake.
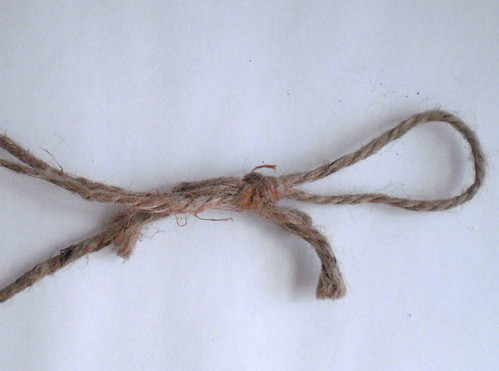
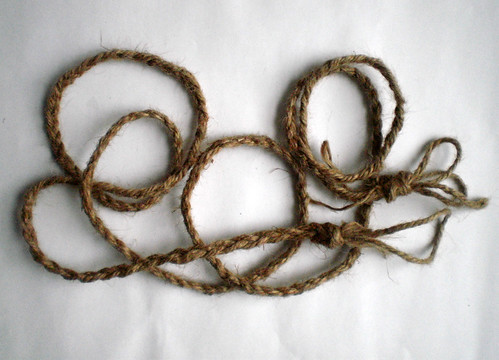
Cut three pieces of jute twine roughly six feet long. Loop together and knot at one end. I made this knot big enough to fit over a doorknob to aid in braiding.
Once you have braided the length of twine and looped the other end in a knot for hanging, you can add your ribbon now by wrapping it around the twine. I waited until after I hung the images though.
To hang images on the twine and knot, thread your needle with black floss. Insert needle through back of image.
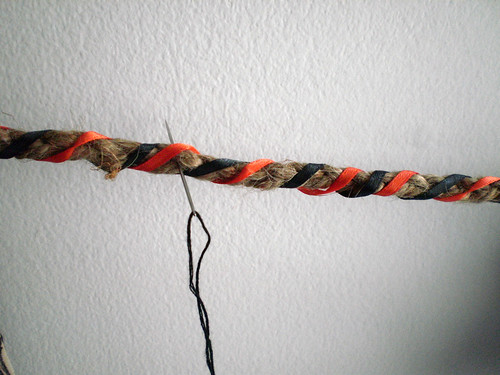
Insert needle through front of twine and tie to the knotted end of the image.
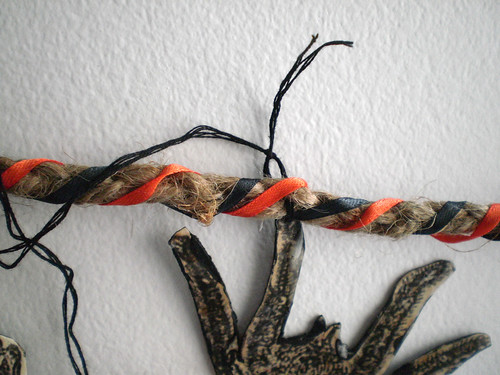
Knot thread tightly.
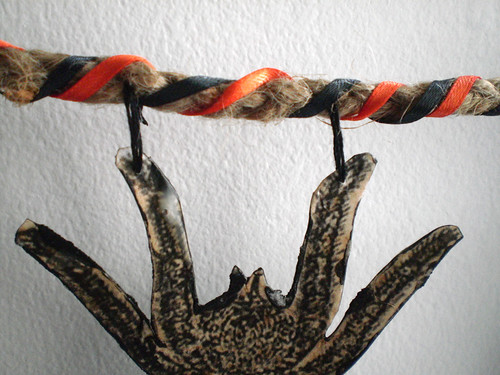
Trim.

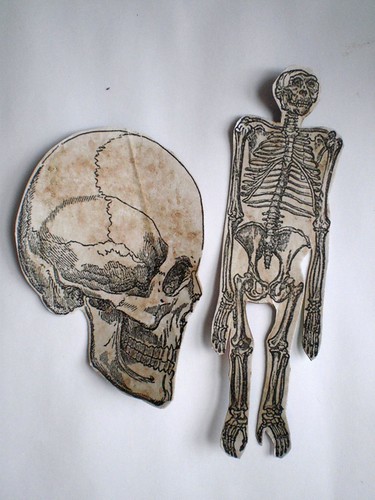
Close-ups of the images. I think they look fab-u-lous!
That is all she wrote! Have fun crafting!
Linking to some of these parties as well as:


29 comments:
Ooh spooooky! I LOVE this, I want to make one now! I love Halloween too :)
Fantastic garland!!
I cannot wait for Halloween!!!!!
=)
What a wonderful project... I love the images you chose.
Have a great weekend!
i love halloween too. great project.
Ooooh you've got me all excited for Halloween now, what a great idea :D
Absolutely a great use of those graphics. It's much fresher than the regular banners.
This is a great idea and a terrific tutorial! Thanks for joining us this week!
{Rebekah}
My boys would love this :)
Love this idea! You did a great job and it looks properly spooky. :)
This looks so fun! Thank you for sharing!
Classy spooky not gory spooky.
Great job!!! It really turned out pretty...well, as pretty as skulls and bats can be. ;)
what a fab look. great change to the more colourful stuff.
That is so cool! I love how unique it is! I would love to link to this if you didn't mind.
BAH!!! What a great idea!!!!! And I love the tea dyed effect...I'm trying on some silk scraps right now infact. Fingers crossed they come out as lovely as this!
Really great idea! I love it. I am throwing a halloween party this year so I am going all out. This would be perfect!
I love this, and I'm going to make one for myself! Thank you!
fantastic! I love this because it meets all my criteria for holiday decor- not plastic/wasteful, little money and storage space, easy and looks fabulous.
This is so cool! And beautiful in a spooky sort of way. Thanks for a fantastic tutorial and for so generously sharing the clip art pages you made. Happy Halloween!
I love you, pinterest. I love you so much for bringing me to this post! In fact, I love you so much I am thinking about proposing. This is quite easily the best freakin' Hallowe'en decor I have ever seen, and I absolutely can't wait for October. Thanks so much for this post!
AMAZING, I'm totally making this for my Halloween party. Another cool effect would be to print the images on a vintage book page, (or any ol' book, you can use the tea staining to 'vintage-ify')
You are providing wonderful information, it is very useful to us. keep posting new blogs Best Immigration consultants Hyderabad
Very nice blog, Thanks for sharing great article.
You are providing wonderful information, it is very useful to us.
Keep posting like this informative articles.
Best immigration Agents for Canada
www Mywifiext net
Mywifiext local
Mywifiext.local
Mywifiext net
Mywifiext.net
Mywifiext
www Mywifiext net
Mywifiext.local
Mywifiext local
Mywifiext
Mywifiext net
Mywifiext.net
www Mywifiext net
Mywifiext local
Mywifiext.local
Mywifiext.net
Mywifiext net
Mywifiext
www Mywifiext net
Mywifiext.local
Mywifiext local
Mywifiext
Mywifiext net
Mywifiext.net
www Mywifiext net
Mywifiext net
Mywifiext.net
Mywifiext
www Mywifiext net
Mywifiext local
Mywifiext.local
Mywifiext net
Mywifiext.net
www Mywifiext net
Mywifiext
Mywifiext
Mywifiext.net
Mywifiext net
www Mywifiext net
Mywifiext.local
Mywifiext local
Mywifiext net
Mywifiext.net
Mywifiext
www Mywifiext net
Mywifiext.local
Mywifiext local
Mywifiext
Mywifiext net
Mywifiext.net
www Mywifiext net
Mywifiext local
Mywifiext.local
Mywifiext.local
Mywifiext local
netgear wn300 setup
netgear wn300rp setup
Mywifiext.net
Mywifiext net
Mywifiext
www Mywifiext net
Mywifiext
Mywifiext net
Mywifiext.net
www Mywifiext net
123.hp.com
123.hp.com/setup
Mywifiext local
Mywifiext.local
Shauna grant is a software developer. She is expertise in making people aware of the new software technologies. She writes for microsoft365.com/setup , microsoft365.com/setup .
I definitely enjoy every little bit of it and It is a great website. I want to thank you for the content. I learn a lot from your blog. Good job! You guys do a great blog and have some great content. Keep up the good work.
Best School Management Software In India
Hi! How can I print your images?
Post a Comment