
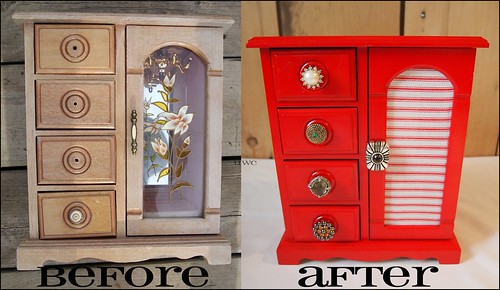
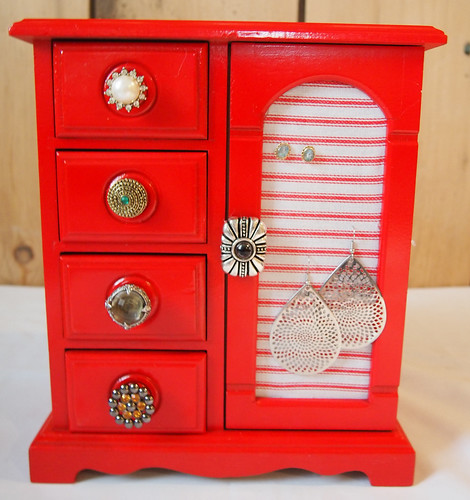
Some difference eh? I love it. A little bit of paint, fabric and shiny baubles and this once almost useless jewelry box is useful and pretty. I was on a big spray painting kit one day and collected everything I could find that might make a pretty accessory holder. The pulls were hideous (and hard to use being so small) so I dug into my thrifted clip on earring collection and voila! here is how I made it:
Gather Ye Materials
Jewelry box
Paint (optional) I used Rustoleum Apple Red Spray paint
Clip on Earrings (1 for each drawer/door)
Small piece of fabric
Gather Ye Tools
Hot glue gun
Scissors
Pliers
E600 glue
Begin at the beginning...
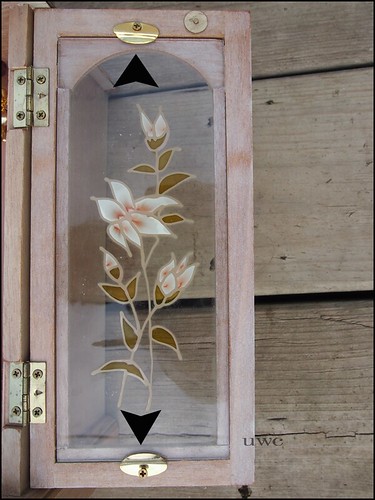
Step 1: Remove hardware holding door glass and the door glass.
{If painting}Remove drawer pulls and tape a pice of paper to where door glass was.
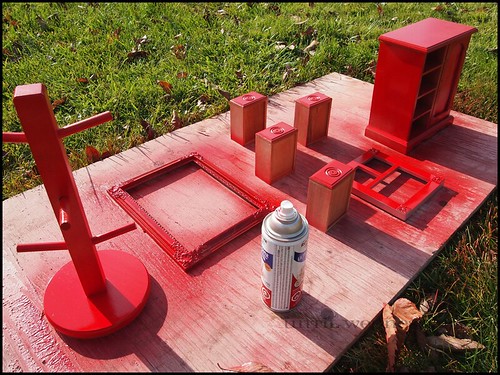
Step 1.5: Paint

Step 2: Use glass as template for fabric. Cut fabric larger than glass.
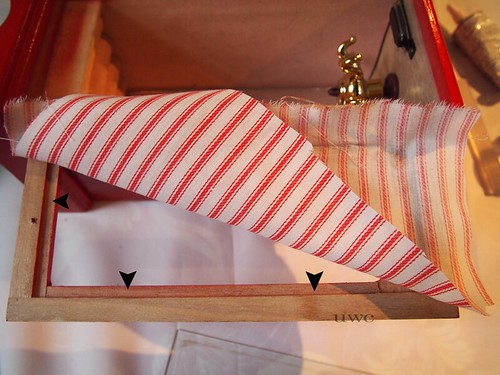
Step 3: Glue down fabric to inside of door frame.

Step 5: Trim fabric.

Collect your clip on earrings.

Step 5: Remove backs from clip on earrings. I did this with a pair of pliers. I held onto the earring with a pair and pulled on the clip with a pair.


Step 6: using a glue that can bond metal to metal (like E600) to glue the earrings to each drawer pull.
Step 8: Add post earrings to fabric and you're done!


Add it to your bedroom and fill with your fabulous accessories!
Happy refurbishing!


