

Showing posts with label refashioning. Show all posts

Friday, March 2, 2012

Return from the...well super busy!

Wow! It has been awhile hasn't it? Well, in case anyone has been worried, nothing bad had befallen me or my family. In fact just the opposite. SO much good and business I just decided to extend my Christmas vacation from craft blogging.  Mostly because after Christmas I hadn't been crafting much. Much. I did in fact move to a house with three times the space (meaning three times the bedrooms.) We also have been three times as social now that we live in town instead of the boonies. I have also been cooking three times as much. So yes, I have been 'crafty' just not in all the usual ways.

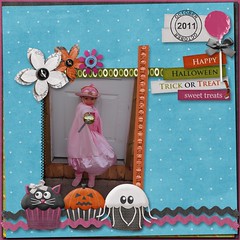
bella-001halloween 2011-003
happy go lucky-001Happy Go Lucky

I have been creative though. I have finished a couple more pages of Wednesday's 2011 scrapbook. (With any luck I ill be done in time to create Shutterfly books for the grandmothers.) I attempted some basket making (sewing and weaving). And recently, I made a fantastic outfit for Wednesday. (My first in way too long.) Check it out!

Wednesday has really taken to being photographed. She'll do all sorts of poses and facial expressions for me. It is super nice when I want to take photos of her modelling her new threads.
 The t-shirt was made by resizing some google images and printing them onto photo transfer paper. Easy peazy lemon squeezy. You can email me for the word document if you like.
 The skirt is basically a very ruffly version of Made's Market Skirt. Tutorial here. 
 Skulls and pink bows. Very Monster Chic.
The fun was in the details though. I added a pleated ruffle to the main skirt body (a thrifted bedsheet) and a double chiffon ruffle to the bottom.
Wednesday's latest obsession is Monster High dolls. So much so that we have had to use these dolls (They do not come cheap!) as a lesson in chores and money saving for Wednesday. So far so good. She knows that we will not buy her one but she is more than welcome to empty her piggy bank of hard earned money for one. She takes care of the dog and cat and keeps her room tidy(ish). So far so good.

I do have a new studio, and two new bedrooms to decorate. I am hoping to get Wednesday's done sooner rather than later. With it's pink walls it is half way there lol. Vintage Strawberry Shortcake is my theme. Stay tuned for more photos of of that and my studio's progress!

Cheers!
Melissa

Sunday, June 5, 2011

How To : Rock N' Roll Ballet Flats

Whoo! *Kicks tumbleweeds aside* I'm back! And with a tutorial no less! Have a looksie at a super fun how to I did up today!
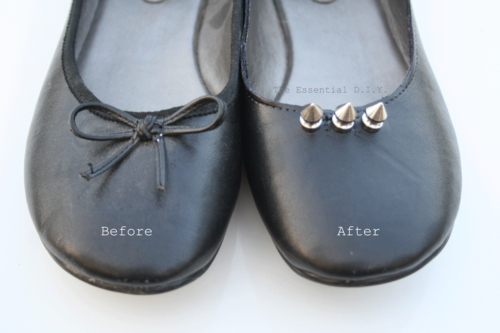
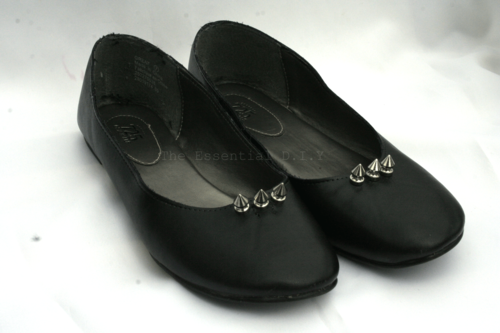
Last summer I found a couple pairs of ballet flats at Wal-Mart for nine or ten bucks a pair so I thought I would be cool and grabbed two pair (One black and one purple) well, not five minutes into wearing the first pair I got the beginnings of a blister. Gosh darnit! I was stubborn though, instead of taking back the unworn pair and donating the other I kept them. The first pair I carefully removed the grosgrain ribbon and voila! No blisters except now I had a very boring pair of shoes. Which also looked a little unfinished. So the two pair sat in my to-do box for a year until I could figure out how to use them. Enter Ebay and the awesome cone studs I found. I couldn't wait to attach those bad boys to my girly shoes and when I did, I was in love.
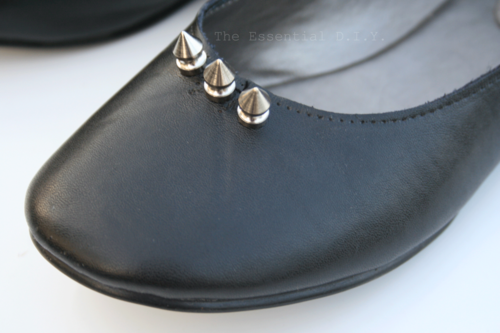
Now they are not only much more comfortable they are cute too! Also, I found that with the studs, the stitching holes worked perfectly.
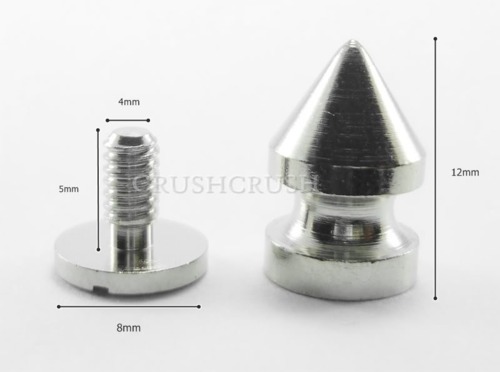
They were super easy to make. The hardest part is getting your hands on these little babies. I bought mine from an Ebay seller called Crush Crush, I think they also have an Etsy account but don't quote me on that. I bought ten and I wish now I had bout a hundred (Instead of the pyramid studs that I can't seem to lay straight!) they are so much fun to use.
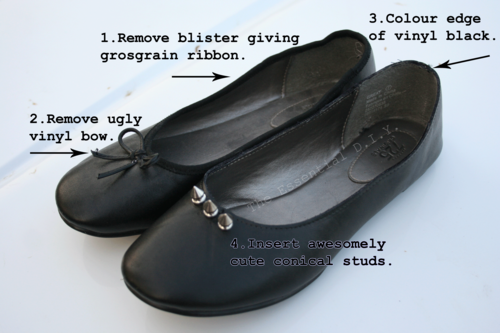
Step 1: Using a razor blade or seam ripper remove sewn in trim. (Mine was gros grain ribbon.)
Step 2: Remove bow (Or other decoration), again I use a razor blade as mine was sewn on.
Step 3: To colour in the vinyl, I just used a black Sharpie, if your shoes are more colourful may I suggest a coordinating fabric marker?
Step 4: Thanks to the threaded bottom of the stud, all you need to do to fasten one to your object is make a hole big enough for the threaded bit to fit through and screw the cone stud on top. Easy peazy lemon squeezey!
I really think they turned out fabulous. Just a little bit of rock and roll for this soccer mom you know what I mean?
I haven't quite decided what to do with the purple pair yet, I am thinking a bright contrasting ribbon of yellow or orange woven around the edge, not sure but I'll share them when I get to it.


Linking to these great parties:
Skip To My Lou Made By You Mondays
Between naps on the Porch Metamorphosis Mondays

I know my blogging has seen less sporadic days but I am trying to figure things out! Thanks for sticking with me and thanks to my new followers as well! ♥ M

Thursday, March 17, 2011

How To : T-Shirt Poppy

You know, this blogging thing is not like riding a bike. I took such a long break that I am having trouble typing things like introductions. I know weird right? It could also be that between My Crafty Weekend and the two Tumblr blogs that I have gotten used to typing quick and informative blurbs about photos and posts. Maybe? So how about I just show you a picture of what we'll be making and move on to the directions?
Every now and then I surprise myself.  This jersey poppy is one of those times. There are a lot of fabric flower tutorials out there. Like, a lot. I know, I have them bookmarked! But this is one I don't remember seeing anywhere and came up with just kind of messing around. I think the best ideas come that way don't they? No pressure to create, just playing. Anyhoo, it is super simple, super cheap (Old t-shirts, scraps and eyelets.) and super fabulous. This is how it is done:
Gather ye supplies.


 Voila! Ca c'est tres bon!
Enjoy your awesome handiwork.
This is what I used mine on. More on that (the pillow) next week!
Now go one with your crafty selves! 
♥♥♥

p.s. I'm proudly linking to: 

 Made By You Mondays @ Skip to My Lou
Inspire Me Monday @ Singing Three Little Birds
 Motivate Me Monday @ Keeping it Simple 
Making The World Cuter Monday @ Making The World Cuter
Tutorial Tuesday @ Hope Studios
Creative Share Wednesday @ The Trendy Treehouse
Idea Sharin' Wednesday @ Women Who Do It All
Whatever Goes Wednesday @ Someday Crafts
 We Did It Wednesday @ Sew Much Ado
Strut Your Stuff @ Somewhat Simple
Make It & Wear It @ The Train To Crazy
Weekend Wrap-Up Party @ Tatertots & Jello

Thursday, October 14, 2010

How To : Denim Tool Roll

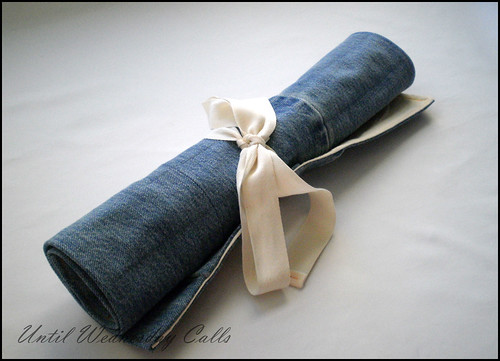
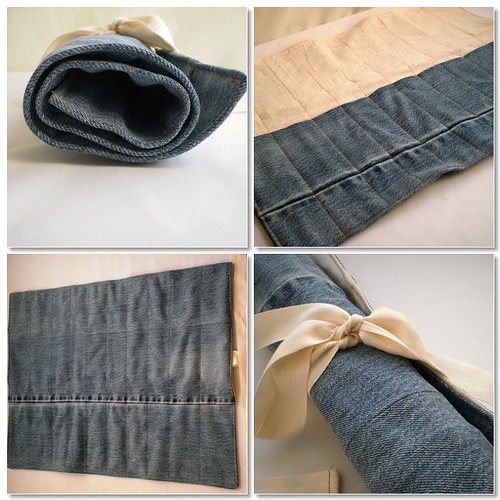
As promised, the denim tool roll tutorial! Sorry for taking so long but I swear I have not stopped for the last two weeks! Now, I know there are a lot of crayon roll type tutorials out there, but I didn't use one for this. And really this is probably more simple than a crayon roll because there is not interfacing or seam binding!


Finshed rolled tied 1

Materials
1 pair of jeans (Or just the bottom 21" of two legs)
1 piece of fabric 15x20" (This is the canvas I used)
1 yard ribbon/twill tape

Modus Operandi


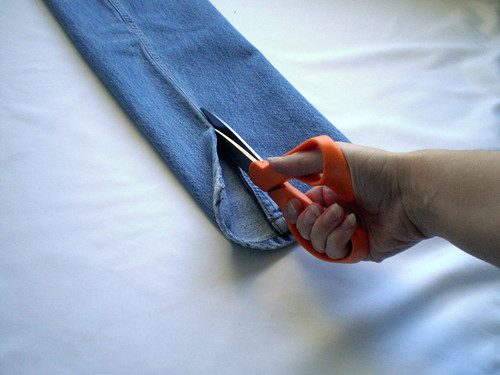
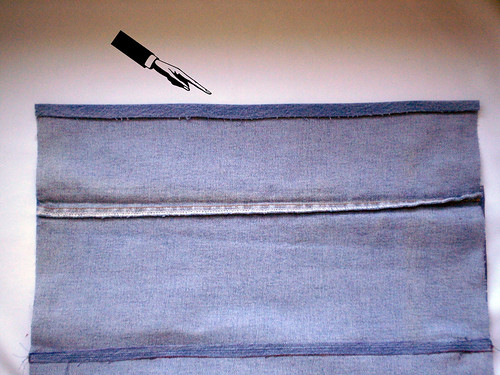
Cut seams
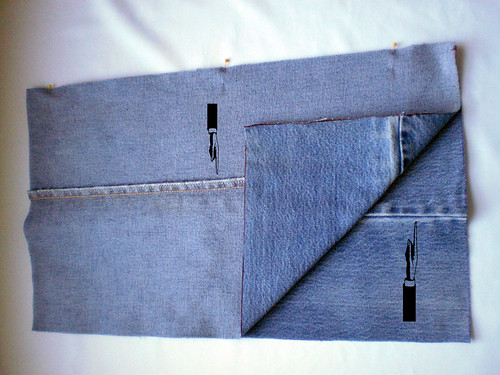
Cut down the inside seam of two legs cut to twenty one inches.

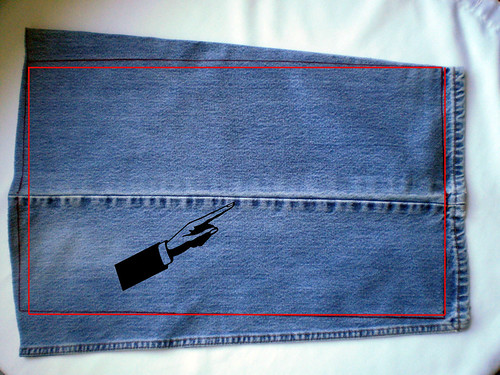
Square up
Square your leg pieces to the inside seam.

Join pieces
Join pieces. But do this so one small piece meets one big piece. I tried to make it clear with the photo.

Sew pieces
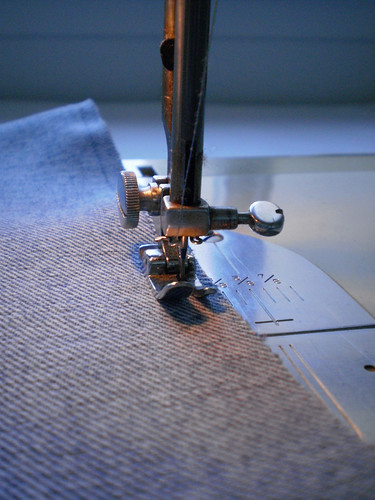
Join pieces with a 3/8" seam.

Press seams flat
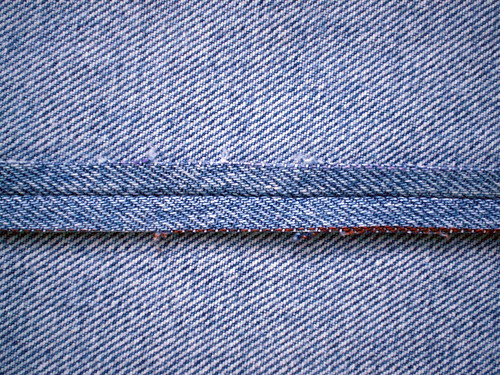
Press seams flat.

Sew down seams.
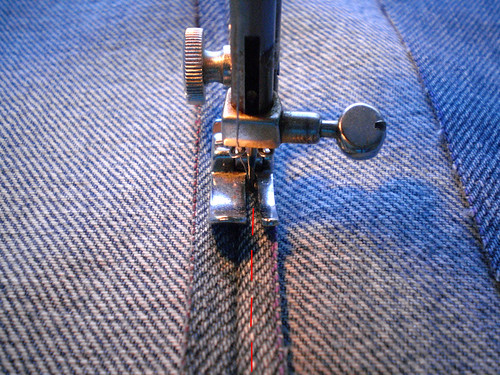
Sew down seams.

Fold and press
Fold and press bottom about a half inch.

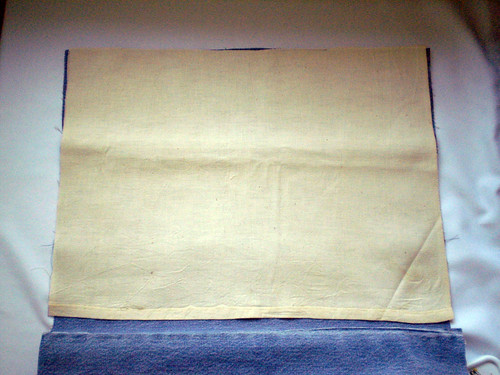
Pin
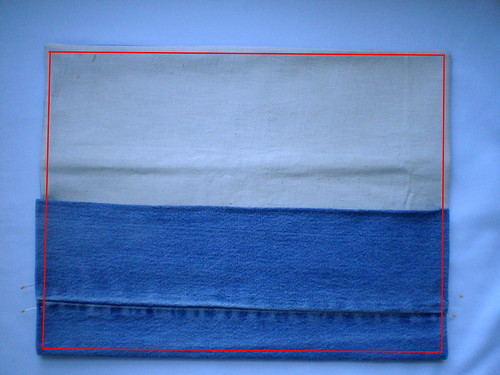
Pin canvas piece to top. This should be approx 15x20".

Sew canvas
Sew canvas around sides and top. The bottom needn't be sewn to the denim but feel free to give the canvas a quick hem before pinning. (I cut my piece from the bottom of the curtain to this step was done for me.

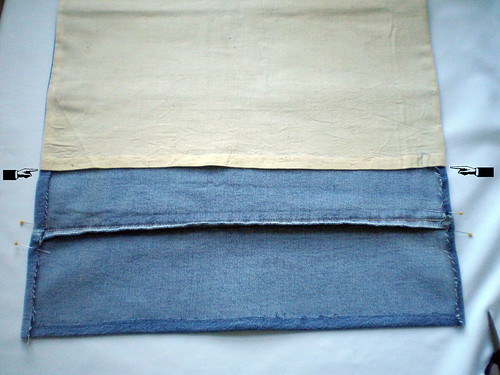
turn out
Turn out. Now press the denim sides in to line up with the turned canvas.

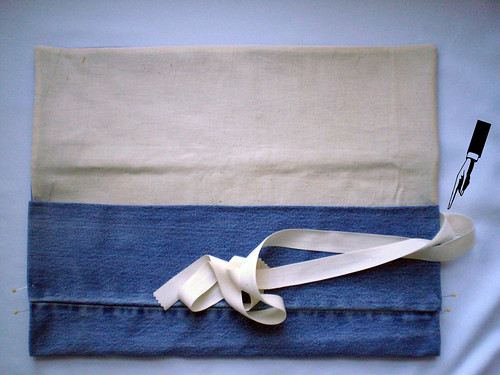
Tie strap
Fold up the denim and add your tie strap. I used cotton twill tape. You can pin at this stage but it is a lot of fabric and I find if you go slow, denim doesn't need to be pinned.

Top Stitch perimetre
Sew around the entire perimetre. Don't forget to back stitch a few stitches where the denim meets the canvas.

mark and quilt.
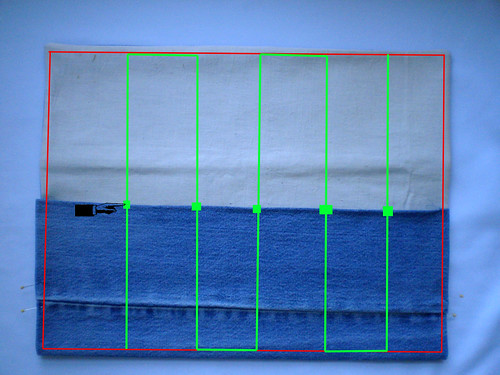
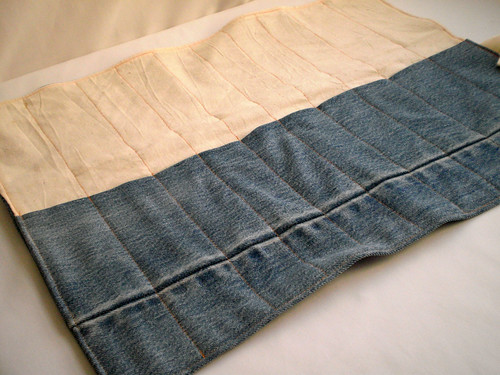
Once you have sewn the perimetre you can either mark with disappearing marker the lines you want to sew along to create the pockets or you can use a quilting guide set to the desired pocket width. I used a marker and marked out two 2.25" pockets on the ends and six 1.75" pockets in the middle. It made it super easy to sew super quick. You can do this in one continuous line starting at the bottom of one end and ending at the top of the other end. Don't forget to back stitch where the denim meets the canvas.

Inside finished
Ta-daaa! Your finished your manly toll roll!

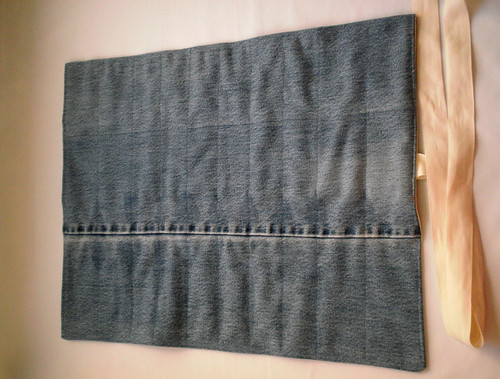
Reverse finished
If you use denim coloured thread in your bobbin, your quilting is barely discernible!

Denim Tool Roll
Now go put your brushes or knitting needles or scissors in it before you change your mind and give it to a deserving man in your life!

I hope you enjoyed this how to! I hope you make your own! I hope you show me yours! I hope you come back for more great projects! Cheers!

Tuesday, August 24, 2010

How To : Denim Barrette and Flower

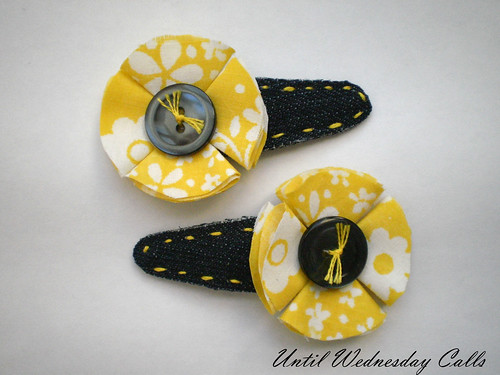
Hello there! I am just pleased as punch to show off what I made last week!This post has been like money burning a hole in my pocket!

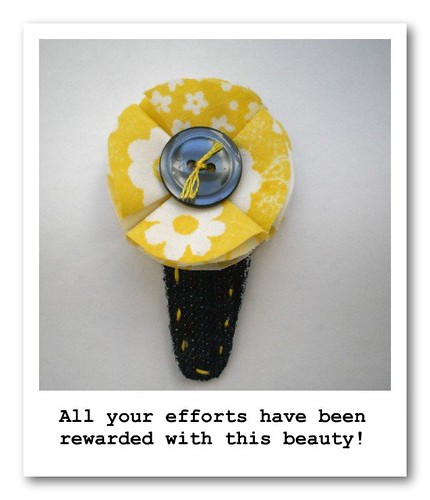
Pair

You might recognize the fabrics from a little outfit I made?

skirt collage

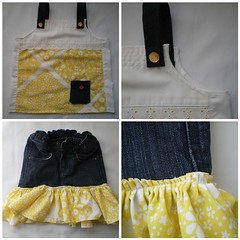
Well, the colour combination of lemon yellow and over-dyed blue denim was just, well memorable. And when I was contemplating what hair accessory to make to go with it, it was a natural choice of the same denim and yellow.

My Creative Space

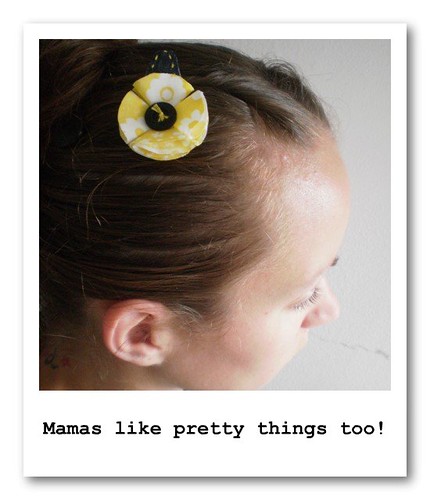
So I scrounged, and I mean scrounged for the last remaining pieces of those blue jeans. And let me tell you, toddler size skinny jeans do not render much scrap fabric! But, I managed to find two pieces big enough to cover a few barrettes. And they really do look wonderful don't they?

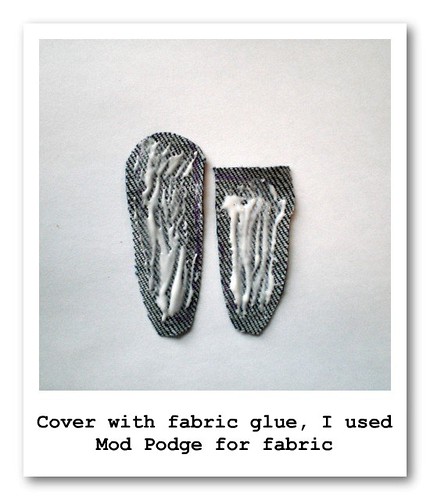
I looked around at some tutorials, but nobody seamed to make their barrettes the same way I did, so I am posting my process photos as a tutorial. Seriously, I love these and I couldn't be more happy with the result.

Materials:
Snap clips (I used 2")
Scrap fabric (I used denim and a vintage sheet)
Buttons
Coordinating embroidery floss
Mod Podge
Hot glue

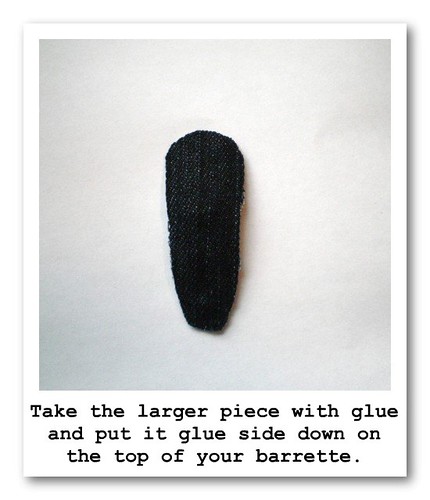
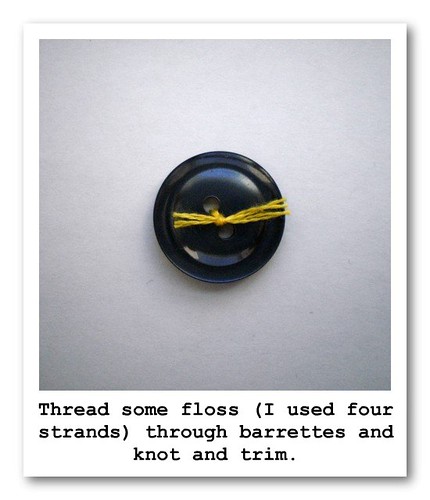
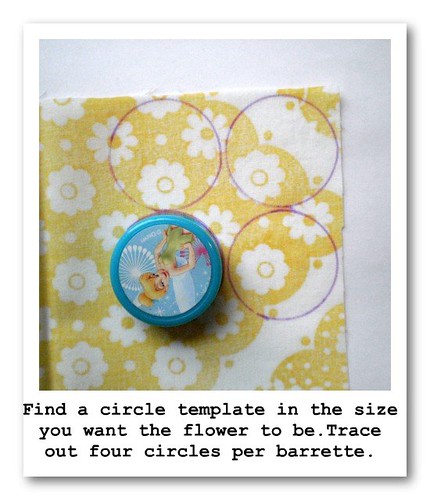
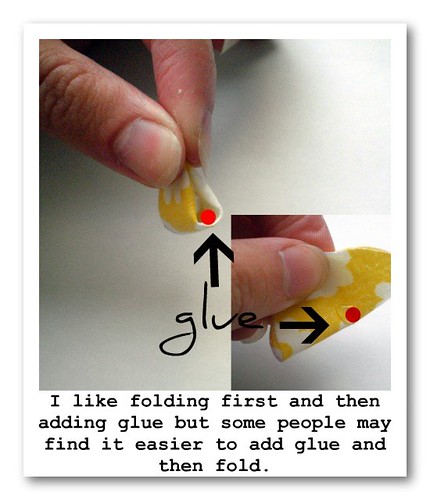
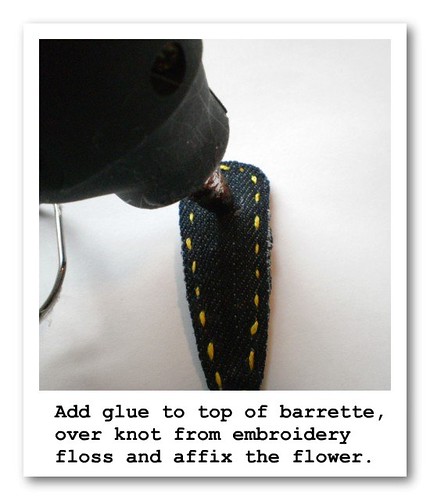
barrette piecesglue poloroid
gluedenim
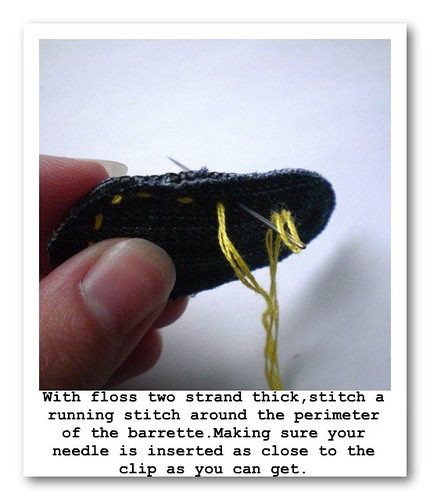
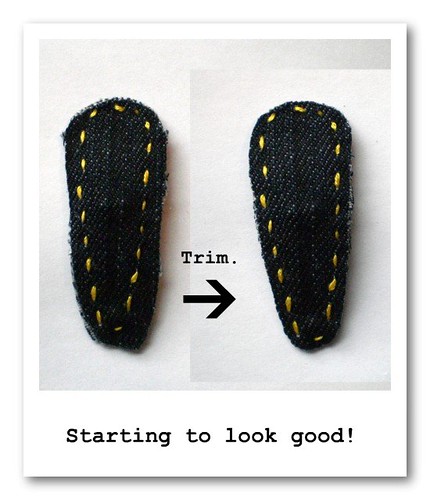
stitchpre post trim

My creation
My creation

And there you have it folks! Pretty and simple one of my favourite combos! But, I do have a couple things to add as a kind of afterward.
  • Stitching through wet Mod Podge will gum up your needle a bit but it is a little easier than stitching through hardened glue. You can try to use hot glue in place of Mod Podge but I cannot tell you how easy (or not) it is to sew through.
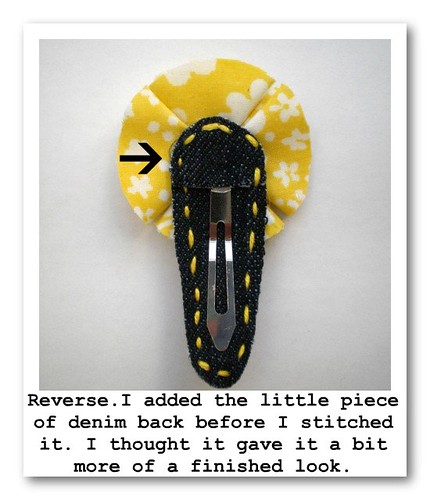
  • I did add a piece to the back with Mod Podge, I added it as an after thought right before I stitched it, that is why it has a flower on it in the photo, I didn't take a picture of it until the end.
  • If you need bigger pictures with bigger print you can always either click on the photo to be taken to a larger size or you can visit the Flickr photo set here, also done as a tutorial.
Thanks so much for taking a look! I hope you like it as much as I do. Cheers and happy crafting!