Showing posts with label holidays. Show all posts

Monday, December 5, 2011

How To: Ruffled Christmas Garland

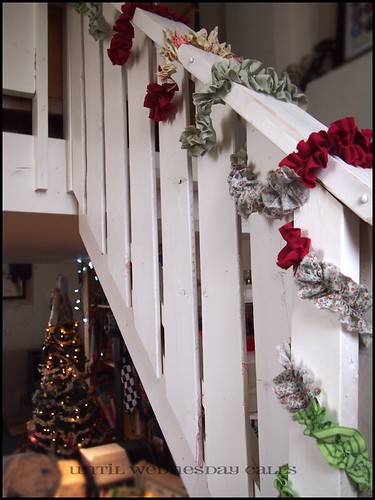
Christmas Garland On The Bannister

A couple months ago, I organized my vintage sheet collection. I made some mini fabric bolts from corrugated plastic. It looks great, but I had to trim a lot of large pieces of most of the sheets. I also decided to thin out the stash a little bit. My solution was a braided rag rug for Wednesday's play space. I have no idea what cold medicine I must have been on because as soon as I had torn up the sheets I realized that it was just too big of a job. So, now I had three large reusable shopping bags full of torn strips of vintage sheets and no way to use it all fast enough. Enter Christmas and my sewing machine ruffler foot.
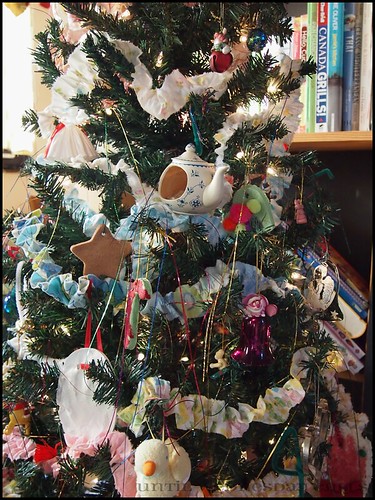


Ruffled Christmas Tree Garland

I managed to use up one out of three bags making a skinny garland for my tree and a fatter garland for my banister. I love them both. Captain Awesome called it "Country cute". I prefer chic to cute but I'll take what I can get! I almost feel silly for posting it as a tutorial but I took process photos and thought I would share. ***Authors Notes*** You could try this with burlap, or double up on your fabric, a skinny strip on top o a wide one. Or ribbons, have some spools of ribbon you haven't used in since last Christmas? Or scraps, the strips would be smaller of course but the variety and colour would be gorgeous!

Gather Ye Materials
Fabric (The longer the pieces the better, I used vintage bed sheets.)

Gather Ye Tools
Sewing machine
Ruffler foot (Gathering foot will work as well, it just produces a less full ruffle.)

Begin at the beginning...
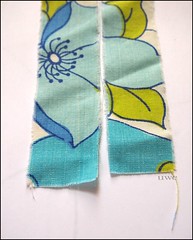

Ruffled Christmas Tree Garland

Step 1: Tear your fabric into strips. The easiest way to do this is to snip the fabric at regular intervals at one end and just tear down at each snip to the end of the fabric.


Ruffled Christmas Tree Garland

Step 2: With your ruffler foot set to rufle @ every stitch, and your stitch length set to the most per inch (I think mine was twenty?) feed the fabric into the ruffler foot a single layer at a time. This is just like using a serger.
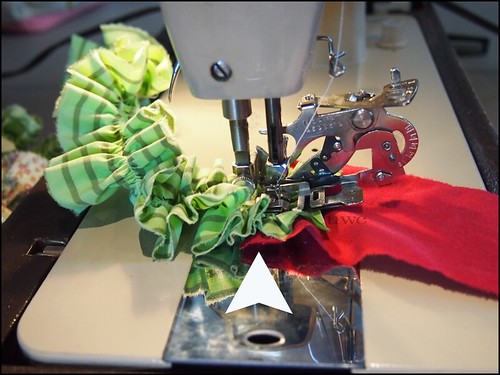

Ruffled Christmas Tree Garland

Step 3: To join fabric pieces slide the next piece under the current piece with a half to full inch of overlap.
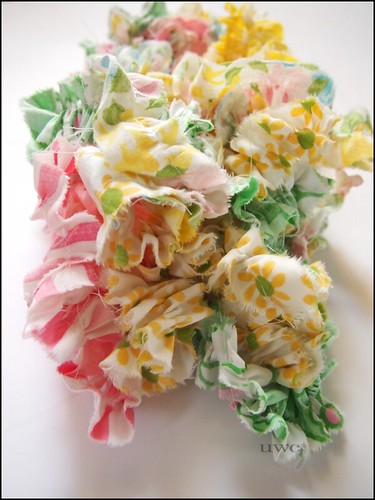
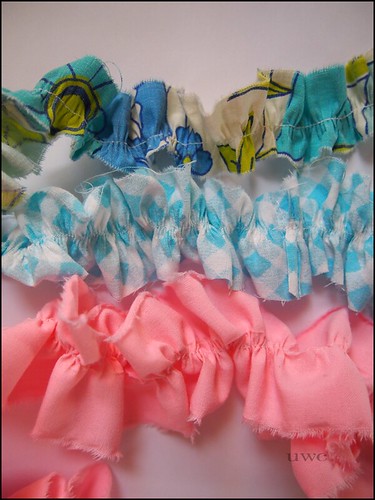

Ruffled Christmas Tree GarlandRuffled Christmas Tree Garland

This is to show the different width and what the ruffle looks like. I used a skinny ruffle on my tree because it is a tiny tree (Artificial 6ft)I probably could have used a fuller ruffle but I am totally happy with how it turned out. I used a wider ruffle for my banister and also upped the fullness.
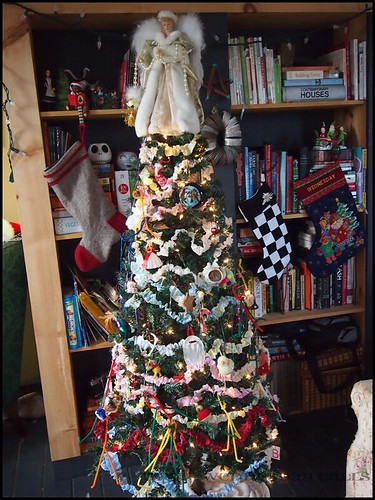
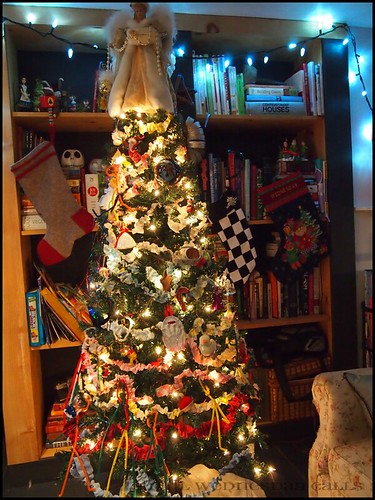
Ruffled Christmas Tree GarlandRuffled Christmas Tree Garland
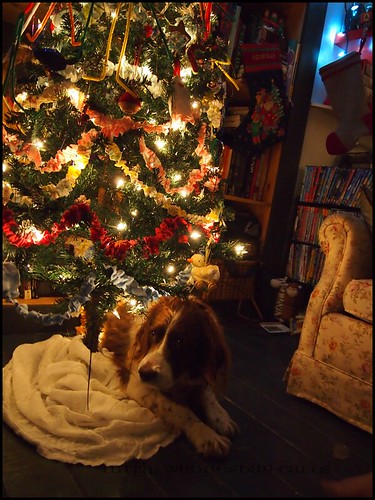
Shabby farmhouse chic by day and Country chic by night.
This our first Sweet family tree in the six(ish) years we have been together. Oh, we have had tree branches, and potted Norfolk pines, table top artificials and even giant firs (the fir was at my parents when we stayed with them upon moving back to Onatrio.) but this our first standard sized, lit up Christmas tree. At first I wanted a real one (Farmed trees are my eco choice) but the space we had to fit it was so narrow that really only a fake tree could fit. Also, our budget was nil so when this pre-lit 6ft went on sale at Canadian Tire I begged for harassed Ron jumped on it. The bonus is that it is small enough to be a second tree if we ever have a place that is big enough for two trees.
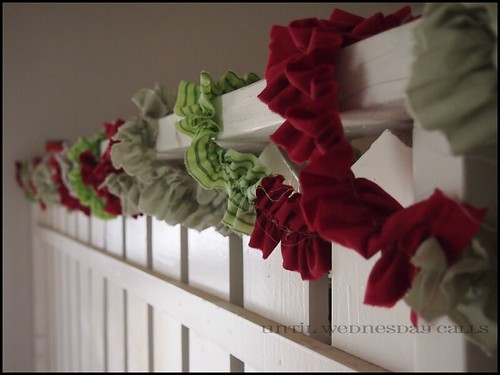
Christmas Garland On The Bannister

Christmas Garland On The Bannister

Nighttime-ruffles-and-Sweetie
Our very old Springer Spaniel, Sweetie Sweet. She is deaf and mostly blind and always looks like someone has beaten her or will be beating her soon. Emotionally high maintenance this dog.


Happy Holidays and of course happy crafting!

Wednesday, July 6, 2011

Wednesday on Wednesday

 On a Don-Keh!

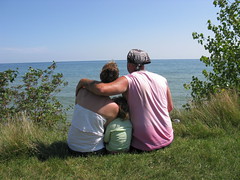
 Mother Bear and Little Bear
 My cutie patootie tree hugger.
Father Bear & Little Bear.
I hope your Canada Day and Independence Day were as wonderful as ours! (Canada Day)

Wednesday, March 10, 2010

Wednesday on Wednesday

1easter09
3easter09
2easter09

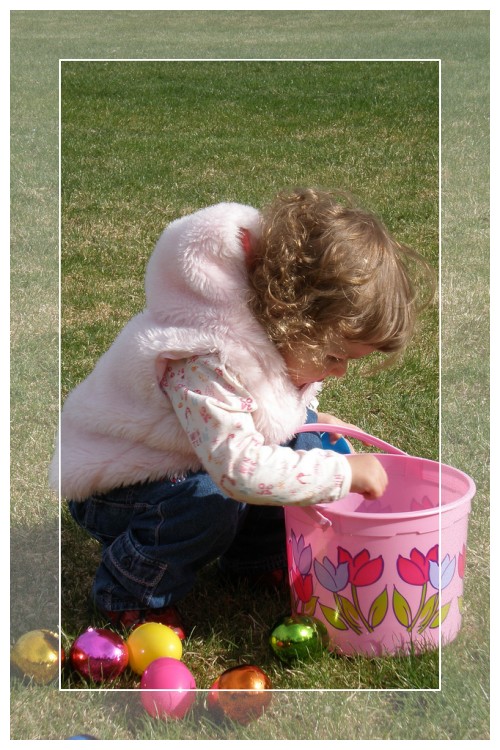
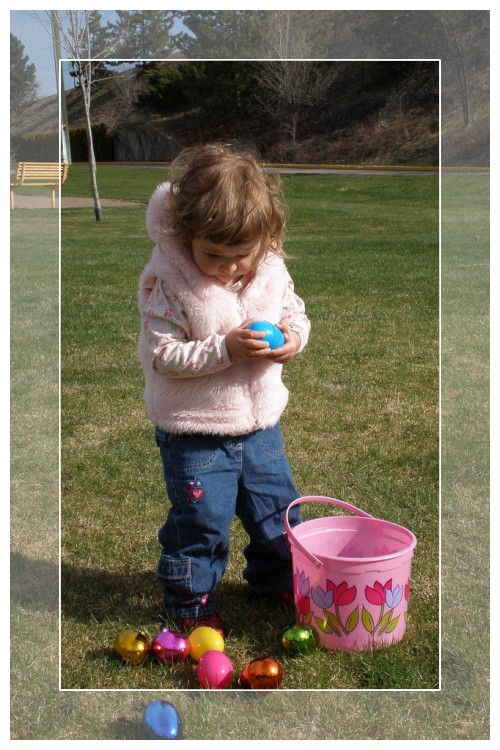
Wednesday's first Easter egg hunt. This was last March. I was not nearly as crafty this time last year so I just bought some super shiny eggs and a bucket and threw them on the grass. She loved it. She was too young to really hunt so instead of making it hard for her we kept it simple. She loved it and when she would open them up and find some real fruit candy all the better. This year they will be one hundred percent less plastic but a zillion percent more awesomeness!

Wednesday, October 28, 2009

Halloween-is-a-comin'

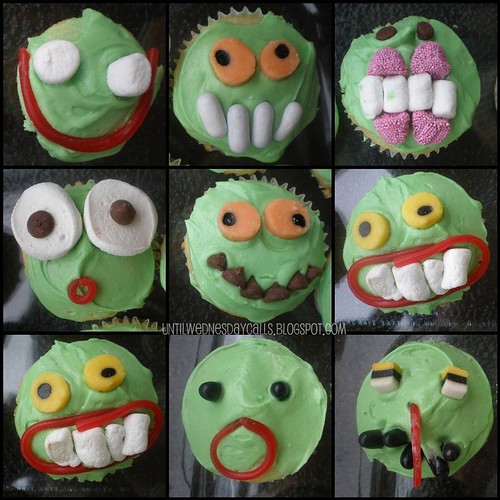
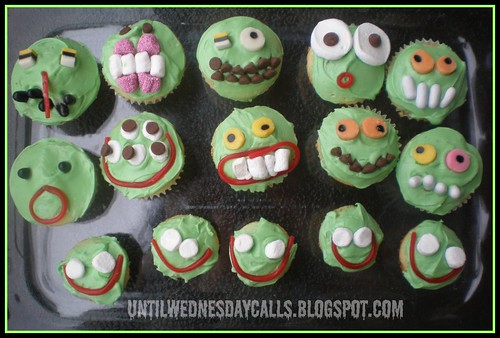
Creepcake Collage

Pretty awesome yes? I really want to say these were fun to make but I had a deadline and things just seemed to keep going wrong! First, a batch of twelve Yellow Buttermilk Cupcakes burned thanks to the muffin tin I was using. The bakers Secret non stick tins cook really hot. I don't like it. But the recipe says it yielded 36 cupcakes and it actually yielded almost 48. This was especially helpful because in my haste I forgot to spray the mini muffin tin and was only able to save half of those as well. So much for being the cupcake fairy to a few friends.

But I got over it and moved on to the icing, a Swiss Meringue Butter Cream again a la Martha Stewart. Again a big fail. First it took a pound of butter which I didn't have on hand and had to wait until Wednesday was finished lunch before I could go and purchase. Then, I don't think I let the meringue qhip enough because after I added the butter and let that whip It really just tasted like sweetened whipped butter. And to top it off when I added my colouring it separated and made the icing look (but not feel) gritty instead of green. Grr!

But, I managed to whip up a cream cheese icing that turned a great shade of green and finally began to decorate. The time limit I had (we were going to a relative's for some pumpkin picking fun) meant I couldn't calm down and let my creative juices flow, or really use any icing for decorating but the pictures in Martha's Cupcake book were super easy and super healthy and I ended up copying most of them.

All in all they did turn out great (Both in looks and taste) and I did learn a few things so next time it should not take me four hours to make some cupcakes! They were enjoyed by those that ate them and that is what counts. Although Wednesday woke up asking for marshmallows and cupcakes for breakfast.

Author's note: I find it hard to bake fom Martha's book when it is not a special occasion because the recipes yield so many (on average I think 24) and I do not eat many sweets. I am more of a muffin kind of gal, fruits and nuts and such right? But Halloween is the perfect time to break out of that norm right? Right!

Halloween Cupcakes