
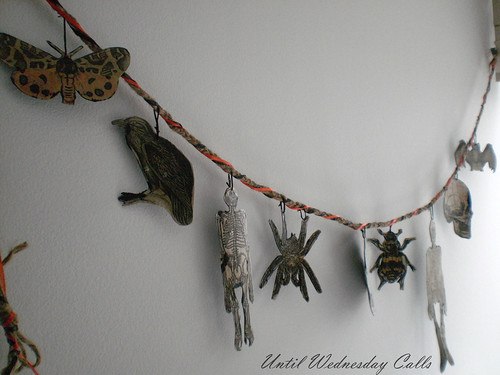
Pretty sweet right? Sorry if the photo is kinda meh, but I have yet to learn the finer art of garland photo taking. Moving on. The images were all courtesy of The Graphics Fairy. I found her site when I was searching for Alice in Wonderland Images but hadn't been back to it. When it popped up in a search for vintage Halloween images, it was a match made in heaven. I didn't need to look elsewhere because I found all of the great images. I recommend visiting her site if you haven't already.
This craft is great for many reasons. The first being it's nearly free-ness. And if you have all the materials on hand like I did; it pretty much is. The other awesome thing is the recycled content. The graphics can be printed on scrap paper and upcycled box board is used to back said images. Plus tea and jute, very natural. Okay, enough talky talky, let's get to the crafty crafty.
Materials:
Paper
Vintage images (I do provide some but you can always google more)
Recycled box board
Mod Podge
Jute twine
Black and orange ribbon
Tea bags
Black embroidery floss
Scissors
Embroidery needle
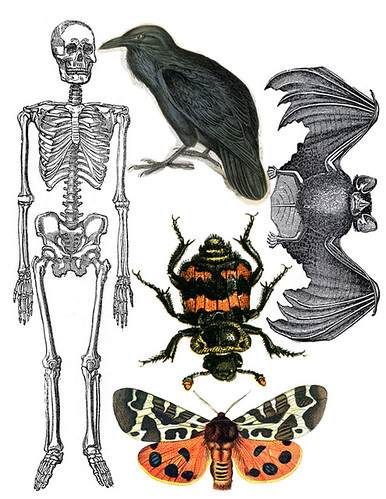

Click here for the first image and here for the second in a larger size that prints on letter size paper.
First things first, collect your clip art and re-size accordingly so they print out on letter sized paper. For your convenience I have shared the two sheets that I made up. Click on the links to take you to print sized copies.
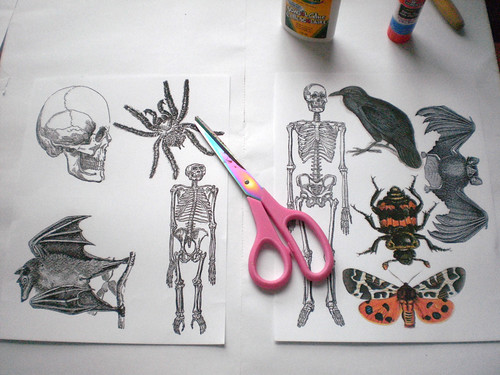
Once you have printed your images, cut them out.
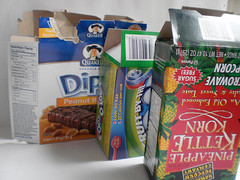
Collect your box board.

Glue images to cardboard,but learn from my mistake, glue to printed side of boxes so that your painted side isn't slick.
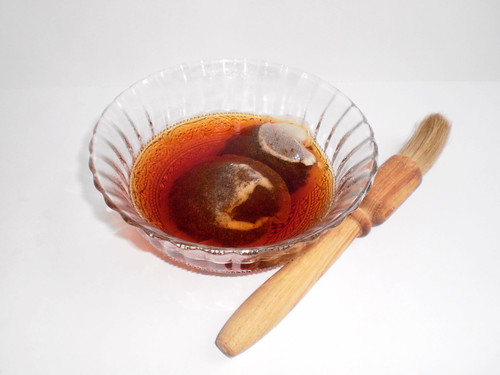
Steep tea bags.
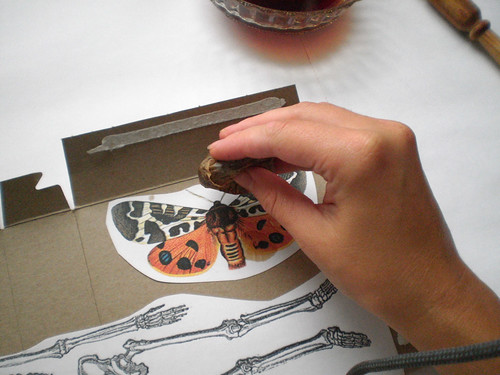
Squeeze tea out of tea bag and dab it on the image.
If you have the patience to do this in layers, it looks really good when you're done.
Once the tea has dried cut out the images.
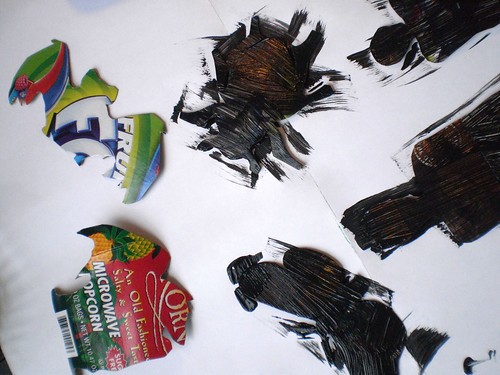
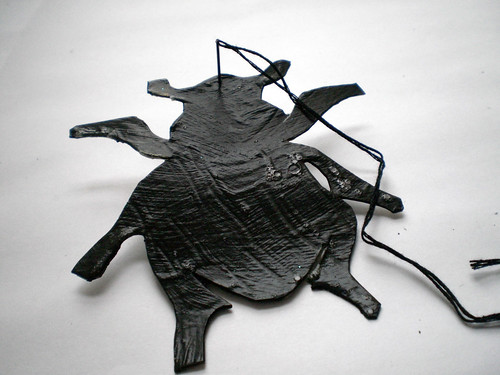
Turn images over and paint the reverse side black. This took two coats for me because I glued them to the wrong sides.Don't worry if some paint end up on the front of the image, it lends to the aged look.
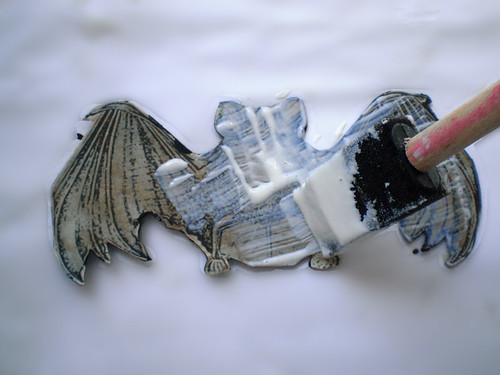
Once paint has dried, apply one coat of Mod Podge to front of image.

When the Mod Podge on the front is dry, apply a coat to the painted side.
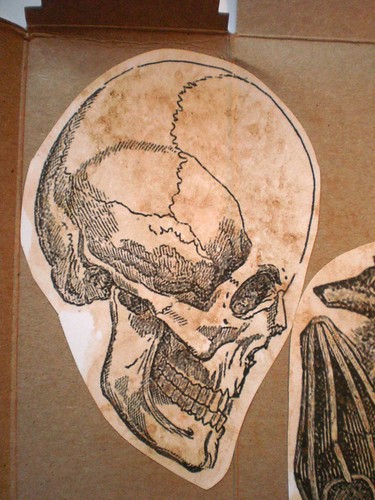
This is after the Mod Podge has dried. See how the black ink has popped out a bit and the black paint splotches look awesome. What a happy mistake.
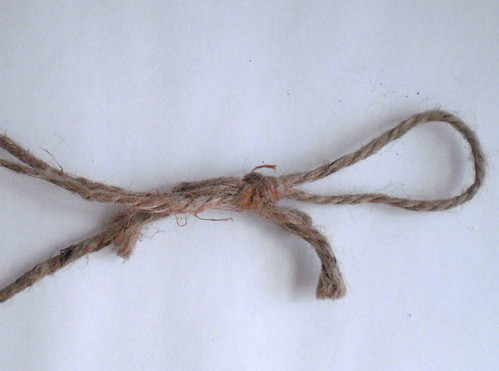
Cut three pieces of jute twine roughly six feet long. Loop together and knot at one end. I made this knot big enough to fit over a doorknob to aid in braiding.
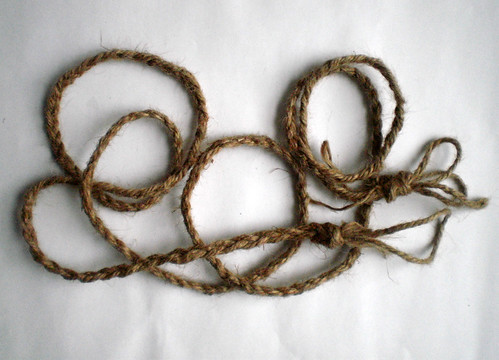
Once you have braided the length of twine and looped the other end in a knot for hanging, you can add your ribbon now by wrapping it around the twine. I waited until after I hung the images though.
To hang images on the twine and knot, thread your needle with black floss. Insert needle through back of image.
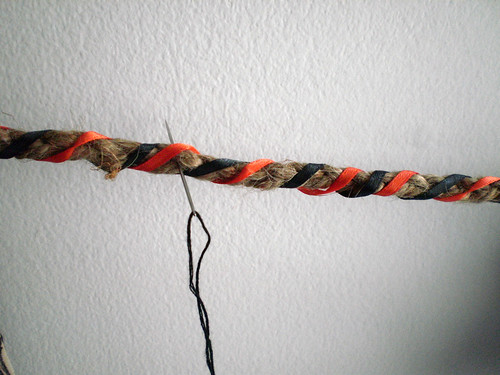
Insert needle through front of twine and tie to the knotted end of the image.
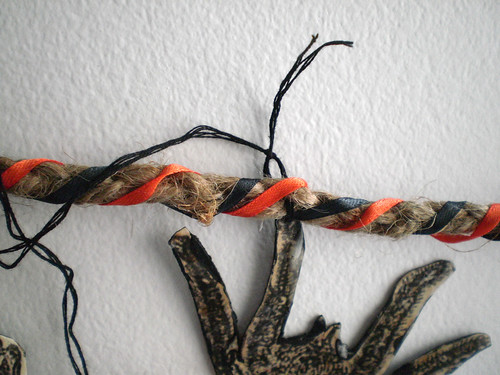
Knot thread tightly.
Trim.

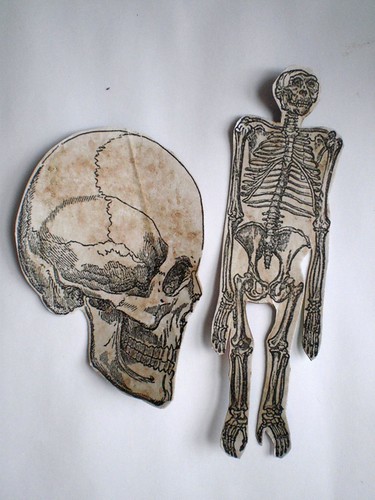
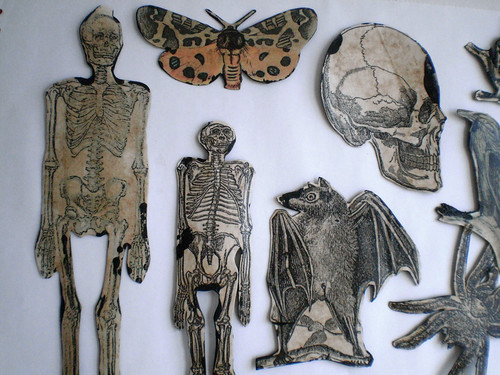
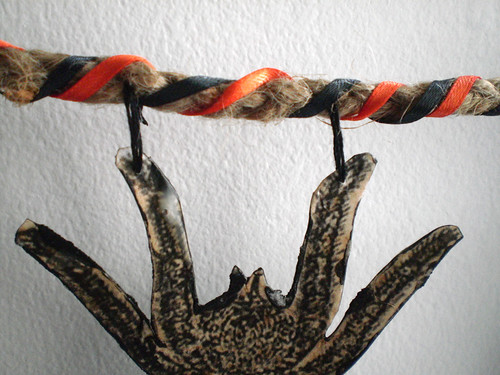
Close-ups of the images. I think they look fab-u-lous!
That is all she wrote! Have fun crafting!
Linking to some of these parties as well as:


