
I have been watching all of these gorgeous handmade ruffle items exploding everywhere and the other day it occurred to me that in the jumble of fancy feet for my machine was bound to be a gathering foot. I was right, I went looking and found it. It was kind tricky though because it is the slightest of curves that make it seem different than a normal presser foot. But I found it, used it, fell in love with it and now I am going to show you how to use it! Another bonus, this is yet another stash buster craft. having just pulling some vintage sheets out of my collection to play with.
Because I had never attempted this sort of thing before it didn't occur to me until after to make another tutorial so my pictures might seem a little too few or of weird steps int he process. Feel free to ask more questions.
Materials
At least two different fabrics, more if desired.
Skirt piece 36"x12"
Ruffle pieces totaling 12' (144") ruffled (quick tute for that to follow)
fabric scraps for hearts
3/4" elastic measured and cut to fit child's waist
Construction Instructions
First off, how to make 12' of ruffle using a gathering foot.

1.To achieve the look of the torn ruffle, I ripped an old bed sheet in 2" strips. I ripped half the bed sheet. You may need more if your ruffles are fuller and more condensed.
2. Sew pieces together end to end for one really really long strip of fabric.
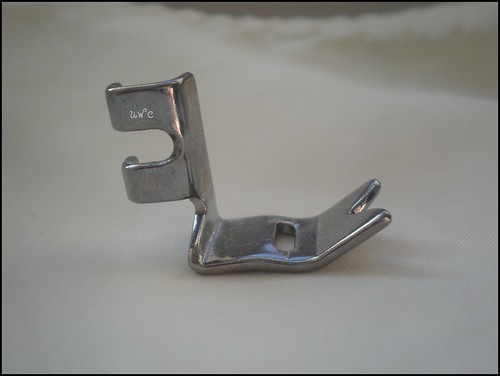
This is a gathering foot. It is my new favourite toy. I mean tool! All you do is attach the foot, put one layer underneath instead of the usual two and 'sew'. Sounds too good to be true right? Not so. Adjust your tension accordingly. The looser the tension, the looser your ruffles, the tighter your tension, the fuller the gather.
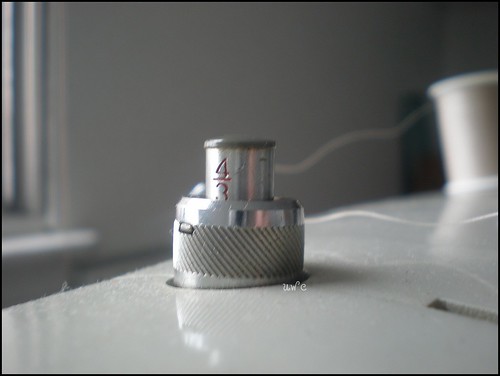
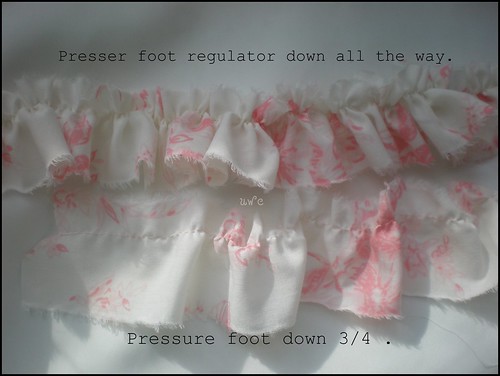
I did this on the tightest tension with the presser regulator 3/4 of the way down to achieve the hand-gathered look, but if you press it down fully you get a perfect, professional looking ruffle.
Don't forget, the fuller the ruffle the more material you will need to achieve 12'.
After you have your twelve feet of ruffle, you are ready to move on to skirt construction.
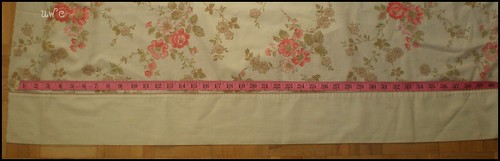
1. If you are using a bed sheet, measure and cute your fabric to 36"x12" along a hemmed edge lengthwise. 36"x13" if you are using fabric yardage.
2. If you have to hem the bottom do so now.
3. Pin ruffle to the skirt starting from the bottom up one row at a time. (Like shingles on a roof.)
4. Cut ruffle at the edge of skirt base so that you do not have 9' of ruffle trailing behind you at the sewing machine.

5. Sew the first row ruffle along the stitching in the ruffle, at about 1/2" above the bottom of the skirt.
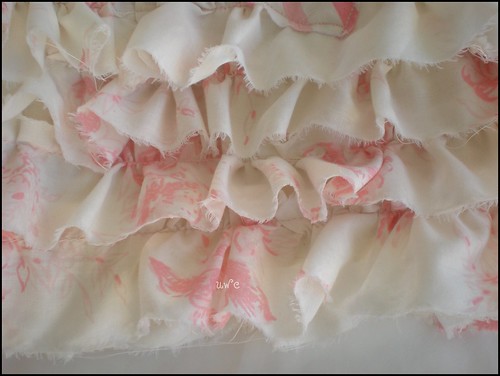
6. Continue adding each row of ruffle until they have a nice full layered look like this.
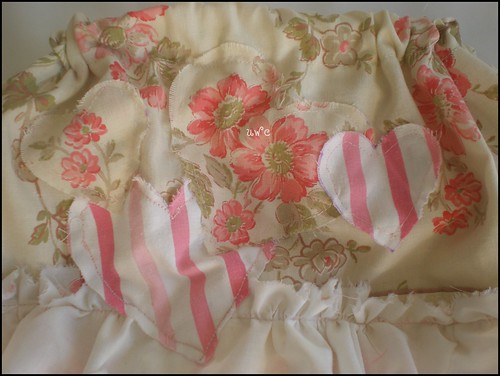
7. Once all of the layers have been attached. Cut out your appliques. (I used two hand drawn hearts the largest being 3.5" at the widest part.) Sew them on to the skirt. I used a quick straight stitch. After they were all attached I went back and tried REALLY hard to add some red punch in the form of zig zag stitches but my skills are not yet there and it just looked like poop. I ended up wasting an hour sewing and cutting out thread it I think four times. I hope you have better luck. I still may add it in the form of hand sewn embroidery floss though, I haven't decided.

8. Fold fabric in half end to end. Pin and then sew down the side, including the ruffles at the bottom.
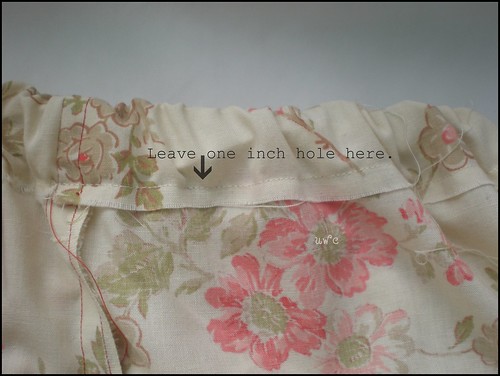
9. Fold down fabric at the top 1.5" to create a casing for the elastic. Pin if you need to. Sew approximately one inch from top leaving about a one inch hole at the end for elastic insertion.
10. Cut elastic to desired waist size. For Wednesday I cut mine to 13" and that was perfect.
11. To feed elastic through casing, I like to attach a large safety pin to one and feed it through. The pin gives a great handle through the fabric. I also like to attach the other end right to the skirt so that the tail does does end up inside the casing to be fished back out.
12. After elastic is fed through sew both ends together and sew up seam with elastic inside.
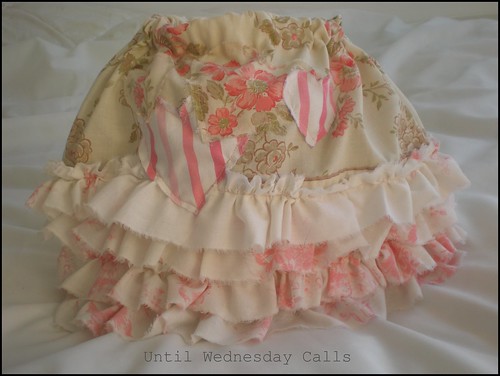
And VOILA~! You have yourself a gorgeous ruffled skirt. Total time from beginning to end? Maybe three hours tops. And that includes toddlers, coffees and ruffle making.
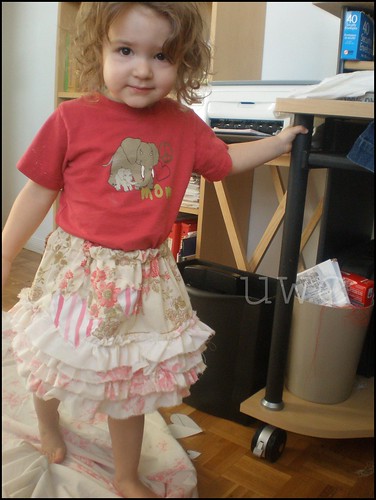
First thing in the morning, complete with bed head and stained t-shirt she models for me, happy to walk all over my fabric on the floor from the night before. But later when I did her hair, got the sunniest room ready with a white back drop would she even go near the room let alone do a photo shoot for me? Not a chance! maybe for Valentine's day you'll get to see her, maybe I'll even have a coordinating shirt done. Hah!
As always, there are larger pictures in the set for closer inspection at my flickr.
Linking to:
Strut Your Stuff valentines @ Somewhat Simple
Make Your Monday @ Twice Remembered
Made By You @ Skip To My Lou
Get your Craft On @ Today's Creative Blog
Make it and Wear It @ The Train To Crazy
Hand Me Down Rehab @ Helping Little Hands


