
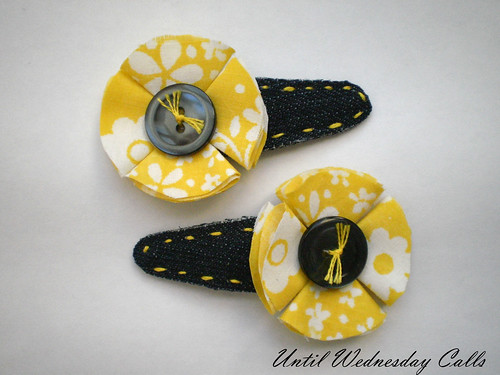
You might recognize the fabrics from a little outfit I made?
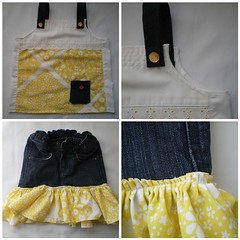
Well, the colour combination of lemon yellow and over-dyed blue denim was just, well memorable. And when I was contemplating what hair accessory to make to go with it, it was a natural choice of the same denim and yellow.
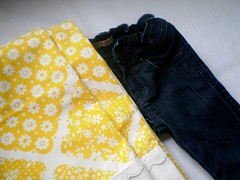
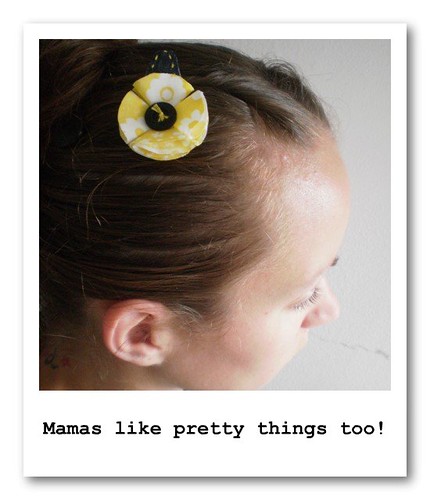
So I scrounged, and I mean scrounged for the last remaining pieces of those blue jeans. And let me tell you, toddler size skinny jeans do not render much scrap fabric! But, I managed to find two pieces big enough to cover a few barrettes. And they really do look wonderful don't they?
I looked around at some tutorials, but nobody seamed to make their barrettes the same way I did, so I am posting my process photos as a tutorial. Seriously, I love these and I couldn't be more happy with the result.
Materials:
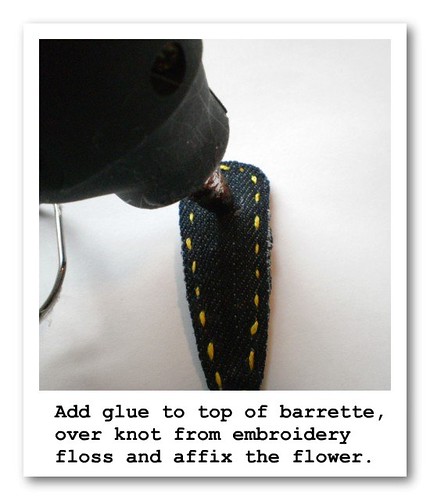
Snap clips (I used 2")
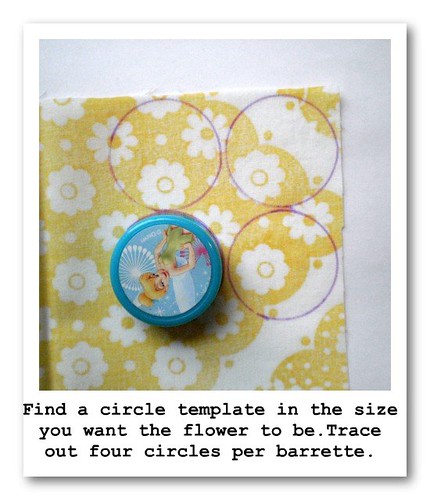
Scrap fabric (I used denim and a vintage sheet)
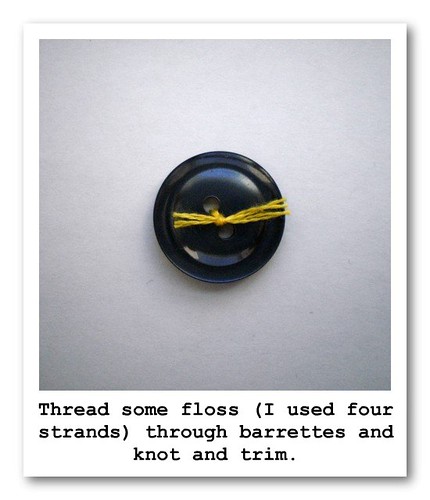
Buttons
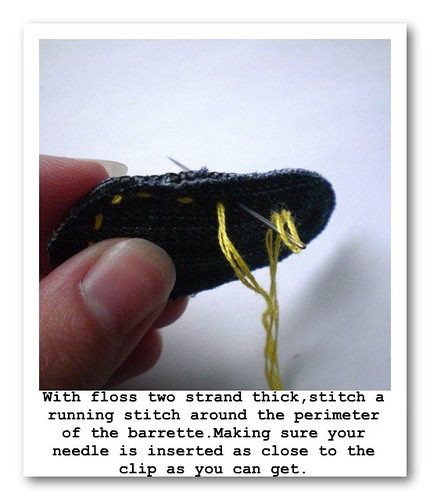
Coordinating embroidery floss
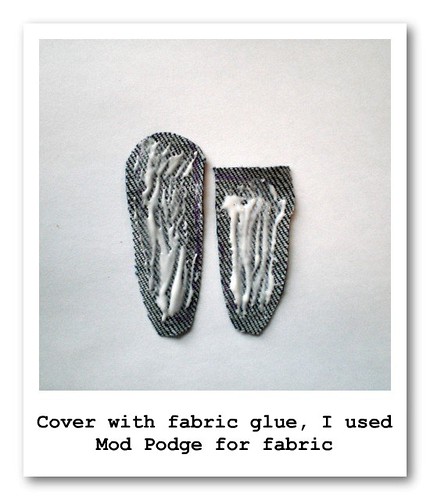
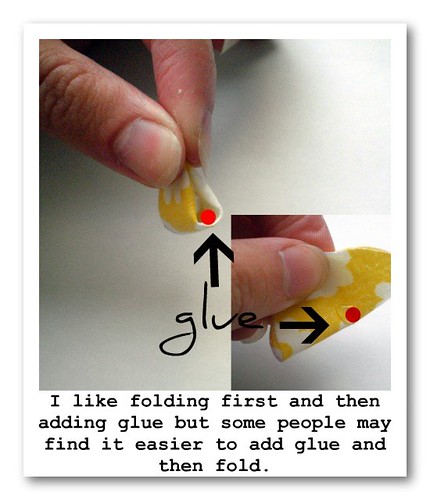
Mod Podge
Hot glue


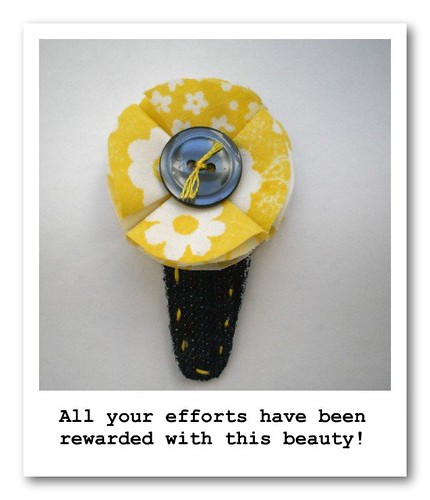
And there you have it folks! Pretty and simple one of my favourite combos! But, I do have a couple things to add as a kind of afterward.
- Stitching through wet Mod Podge will gum up your needle a bit but it is a little easier than stitching through hardened glue. You can try to use hot glue in place of Mod Podge but I cannot tell you how easy (or not) it is to sew through.
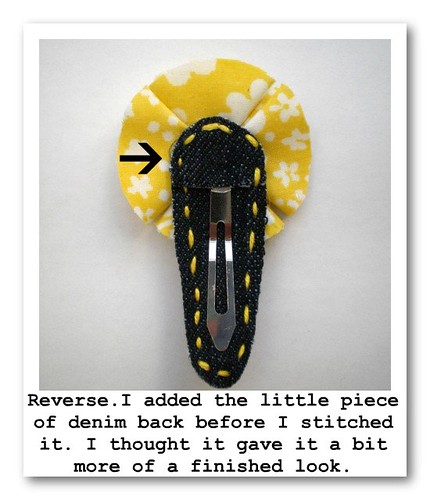
- I did add a piece to the back with Mod Podge, I added it as an after thought right before I stitched it, that is why it has a flower on it in the photo, I didn't take a picture of it until the end.
- If you need bigger pictures with bigger print you can always either click on the photo to be taken to a larger size or you can visit the Flickr photo set here, also done as a tutorial.


