Wednesday, March 31, 2010

Wednesday on Wednesday

Boardwalk (35)

Boardwalk (31)

Boardwalk
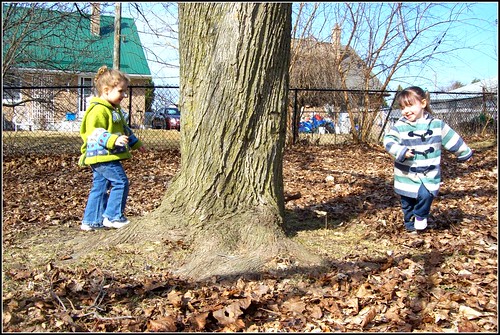
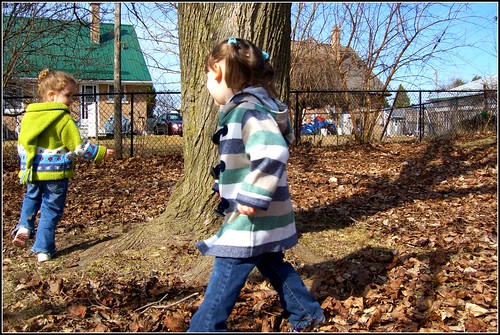
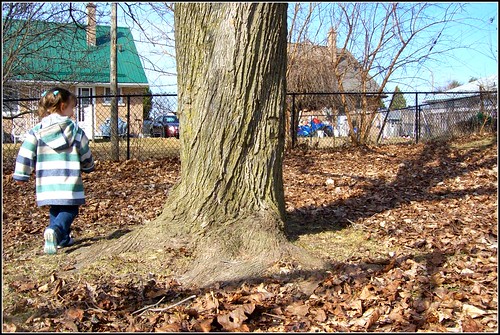
Some cool spring day fun.

Tuesday, March 30, 2010

How To : Felt Flowered Papier Mache Easter Basket

aboveshot


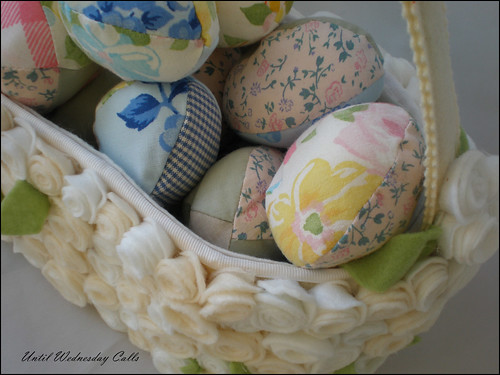
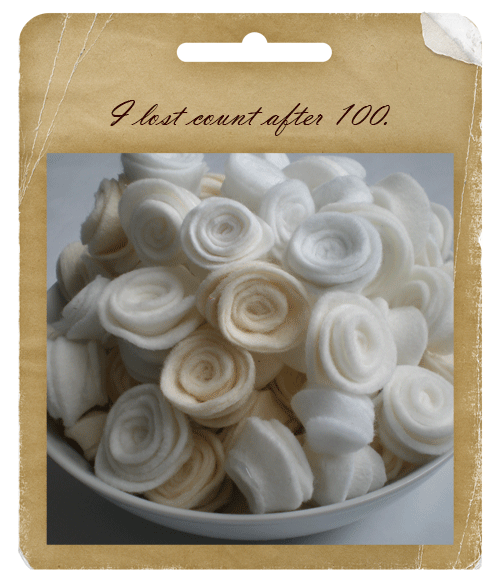
Good morning! The sun is shining here today and it is slowly warming up. After I post this I am getting pretty and Wednesday and I are going out to play! But, before that I have a photo tutorial to share with you. I had it in my mind to make Wednesday's Easter basket this year, to go along with the eggs I made her and the soon-to-be-felt-food I am making her. I had a few issues though. It needed to be big enough to hold two dozen soft eggs, it needed to be light enough for her to carry and comfortable enough for her to want to carry it. I kept going back to papier mache for simplicity. I re-examined the mailbox I made her and found it to be light enough so, I went with it. The next snag was how to cover it. My head was not in the place to make a slip cover for it like the mailbox but I knew I wanted a nice soft look. Enter this tutorial from Love 2 Create. It was inspiring in both its simplicity and prettiness. Over the course of the weekend I think I made about 160 felt rosettes.


My Crafty Weekend V2 Complete With Accessories

lostcount

shoppinglist

Oh and of course, I made a couple of nifty buttons to go along with the link up. Feel free to use them, comment on them or ignore them. I gotta say, they were the most difficult thing I have done creative wise in some time. I hope you share some of your crafty endeavors. Finished, WIPs, recipes, you know, whatever you had fun creating this weekend!


Friday, March 26, 2010

My Creative Space - A New Blog Look


I have a new obsession. (I know, like I need another one of those.)But, I felt it was necessary to learn. Digital scrapbooking. I love it. I mean LOVE it. I do not love it more than traditional scrapbooking, I am too, tactile to give that up. But, for things like blog design, holiday cards, business graphics etc. This is brilliant. It took me two days to get to where you see the header and buttons are now. I am sure I will be tweaking them in the coming weeks but for now I am pretty darn happy with what I come up with on my first try.

I managed to find a ridiculous amount of freebies with some googling. Not all of them are Shabby princess either, but all of them are awesome! My favourite elements (In case you can't tell)are the torn bits of paper and the aged pieces. There are some really pretty feminine elements I like too but for now, I can't get enough of the fake masking tape and staples!

I can't direct you to any good tutorials yet because I just downloaded a but load of files and then began to resize and layer them in Photoshop CS2 until I figured out what I liked and what I was doing. It is itimidating, I hemmed and hawed and asked for help on Twitter before even trying to download anything. It was just so overwhelming. But, I plan on doing some fun stuff with the blog soon and I really wanted some cool looking buttons. I haven't made those yet, but maybe this weekend when I have my Easter sewing done (Ack! One more week!)

What I can do is leave you the two links I used for the most plentiful freebie downloads. There is the ever famous Shabby Princess freebies. I say ever famous because as far as I know their freebies are synonymous with getting started in DS. Also, they are great for us beginners as absolutely no cutting and pasting are required for the elements. (I mean each element and alphabet piece is it's own individual file.) The other site I got MAD freebies from was from ComputerScrapbook.com I must have received hundreds of dollars worth of free downloads, (with a lot of patience) just for signing up for their newsletter (which tells you about more freebies!) I did find a couple more sites but they didn't really have what I was looking for, but you might for serious though, just google free digital scrapbooking elements and you're golden.

And now, I must go and join the physical world and do my dishes, fold my laundry, play with my babe. Check out some other Creative Spacers @ Kirty's when you have a moment for the digital world. I hope you have a fantastic weekend!

Wednesday, March 24, 2010

Wednesday on Wednesday

Park Fun (64)

Park Fun (62)

Park Fun (63)

Park Fun (61)

Here is to sunny days and simple fun with good friends. Happy Spring!

Tuesday, March 23, 2010

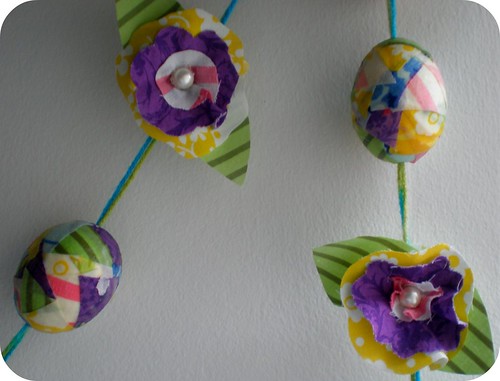
How To : Mod Podge Egg Garland

Easter egg garland


This was a labour of love but it was worth it and I am excited to have a new tutorial for you.

A few notes before beginning:

  • To Modge Podge the fabric to the eggs took me about 3 hours from beginning to end and I did sixteen eggs. The flowers were easy peazy and the threading took only minutes as well.
  • The Modge Podging makes the eggs strong enough to be collected by little ones on Easter but pretty enough to collect in a bowl or thread on a garland. If I hadn't already sewn up two dozen fabric eggs this is what I would have done for her to collect.
  • I did notice after all was said and done that the darker/brighter the fabric the better it looked when dried. I did up four to begin with and almost didn't finish because I wasn't sure if I liked them with the paler fabrics. As soon as I added the bright yellow and purple though I loved them.
  • Also, you want to talk frugal? These scraps are the size of quarters and the eggs came from a couple weeks of baking.
  • I wasn't sure if you would want to make the same flowers I made, but just in case I made a quick video tute because pictures would have taken too long to show you what a video does in 1:30s. Also, don't laugh when you see me burn myself.

Monday, March 22, 2010

My Crafty Weekend

Wow, and Monday is upon us already! I'm okay with that though, we managed to have a great weekend around here despite the weather. A family pizza party, sewing, crafting, baking and all around general fun was had.

I know last week I posted the bare minimum, but the weather here was so very wonderfully unseasonal we couldn't bear to stay inside and because of the fresh air we couldn't stay up late (at all)to blog so it just kind of petered out after Wednesday. Well, seasonal weather is back and the skies are grey so here is to hoping for a full week of posting with a couple tutorials thrown in for good measure.
My Crafty Weekend


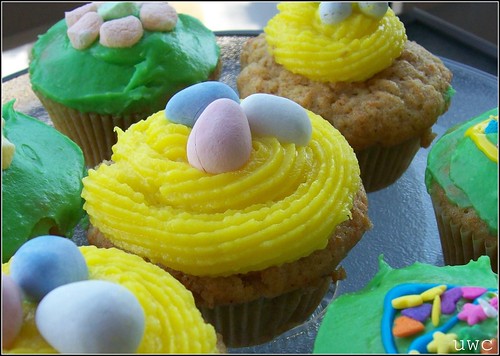
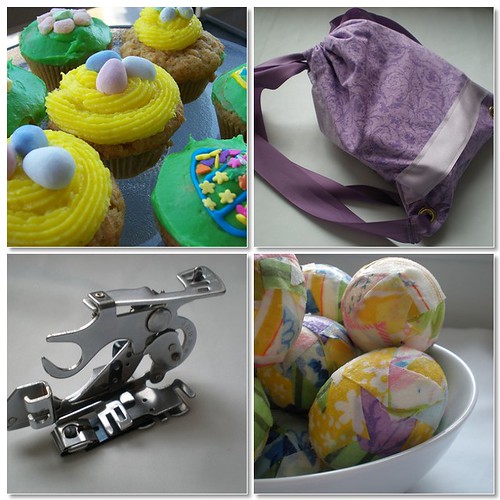
On Friday I baked some cupcakes for a family get together. I made the carrot recipe from Martha Stewart Cupcakes and it was so good. The cream cheese frosting pictured is my own recipe though made so that I could pipe it on. You can find it here or on my new recipes page. It is thicker than the recipe I used for the Creepcakes and the Tank Cake. They were very tasty, I mean uber-tasty!

Do you like the purple backpack? I made that Saturday morning for Wednesday's cousin's seventh birthday. I wanted to make her something but I didn't have her measurements and aside from being really bright at school I was not too sure what she was 'into'. So I made this drawstring backpack and filled this bag with a jump rope, sidewalk chalk and bubbles. I hope she liked it!(Every seven year old likes purple right?) It was made from my own design because every tutorial I found confused the heck out of me. I am not a technical reader! So, I decided it was so easy, fun and gosh darn cute that I will be making at least one more for Wednesday and you can expect a tutorial for it because I decided the basic design could use some modifications.

Sunday was the day of the ruffler foot. This actually wasn't as stressful as I am remembering. Problem was I pulled it out after two hours of trying to shirr and realizing that my machine would have none of it. No matter how much I fiddled with upper tension, lower tension, hand winding the bobbin, machine winding the bobbin. My machine just does not enjoy sewing with elastic thread and that is something I will have to get used to. So, to make myself feel better I pulled out my forty-year old Kenmore ruffler foot and started to teach myself how to use it. After I got past all of the technical jargon I managed to get it to plait beautifully on ever stitch regardless of stitch width. Unfortunately, anything else just didn't look very good. But that is okay, my gathering foot works really well for less full ruffles on most medium-thin to thin materials. Wow what a gorgeous full ruffle from the foot though. I just might come up with something for Ruffle Your Stuff yet. Although, I think I only have a couple days left. Sigh.

Last but not least. I stayed up until midnight last night finishing up these beautiful eggs. I also have the first part of that tutorial photographed but I don't have what I thought I had to finish it so that will have to wait until tonight or tomorrow. But it will be worth the wait, I promise!

p.s. What do you think, would this make a good link event? My Crafty Weekend I mean. I think it would. next week, expect a McLinky. :)

Happy Monday Folks!
Sunday, March 21, 2010

Recipe : Pipe-able Cream Cheese Frosting

Easter Cupcakes


I made some carrot cupcakes this weekend for a family get together and since it was close to Easter I wanted to make them a little bit fun. Cream cheese frosting is not necessarily known for it's pipe-able properties. It is definitely known for being delicious and pairing perfectly with carrot cake though so it was only natural I thicken it up some how to make the pretty little bird nests you see pictured.

This yields enough to pipe small nests on about ten cupcakes and spread another ten. (The cupcakes I made were very muffin like without frosting so I chose to leave some bare for snacking.)

Ingredients
2 cups icing sugar
1-8oz package of cream cheese (Softened)
1/4 cup butter
1 tsp vanilla
cream (Optional, use only if you find consistency not creamy enough)
Food colouring

Directions
With an electric mixer, beat the cream cheese and butter together.
Add vanilla and colouring
Add icing sugar slowly until well combined.
Add cream tsp by tsp if consistency too thick. Alternatively add more icing sugar if it is not thick enough.
Put into icing bag and use immediately on cooled cake/cupcakes/cookies.

This is not so stiff you cannot spread it nicely, but if you want it creamier add another 1/8 cup of butter and cream by the teaspoon until it reaches desired consistency.

Wednesday, March 17, 2010

Wednesday on Wednesday

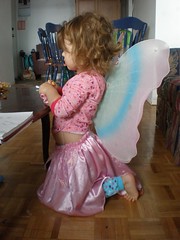
Morning fairyMorning fairyMorning fairy


She is no leprechaun but she makes a heck of a fairy yes? Happy St. Patty's Day friends!

Tuesday, March 16, 2010

Guest Posting @ The Sewing Dork!

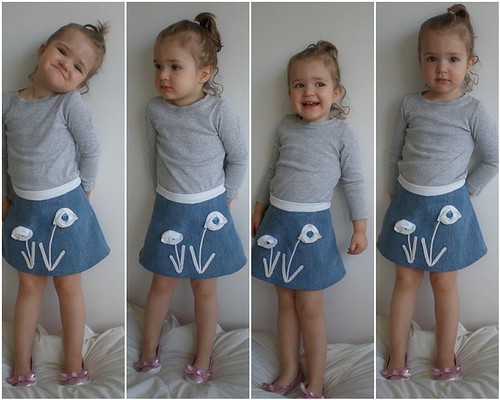
Good morning! Today is super exciting! I am guest posting for the very first time (anywhere) at Confessions of a Sewing Dork! March is frugal crafting month at Confessions of a Sewing Dork and I for one have been really enjoying the posts! So when Cynthia asked me to author a post for her themed month I was more than willing. So much so I was almost instantly inspired. I had this skirt sketched in my notebook but I was dragging my butt on the actual creation of it. Until the other day. Suddenly (like as soon as I read the email) I had to make it that day! And I did. And it is awesome. And now I will share with you how you can make the cutest skirt from a ratty pair of jeans, an old stained t-shirt and a shoelace. Seriously if that is not the epitome of frugal, well than can I at least have a B+ ?

Four Wednesdays & a Skirt
Want to make one of these? The skirt, not the gorgeous kid, this is a g-rated blog!


For the next few days the tutorial will be located here at Confessions of a Seeing Dork. How cool is that? I have been reading her blog since shortly after I started this one. I cannot remember which one of her many awesome (and uber thrifty) tutorials lured me in as she has so many. Re-purposing and refashioning are the main themes which would explain why I love it when her blog pops up in my dashboard window. Oh and giveaways, this woman is uber generous! Always giving away handmade items, would be a good idea for you to visit her often!

Hope to see you there!