
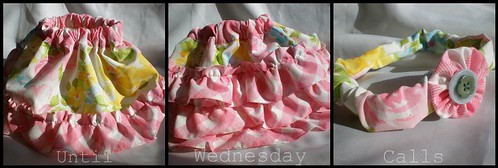
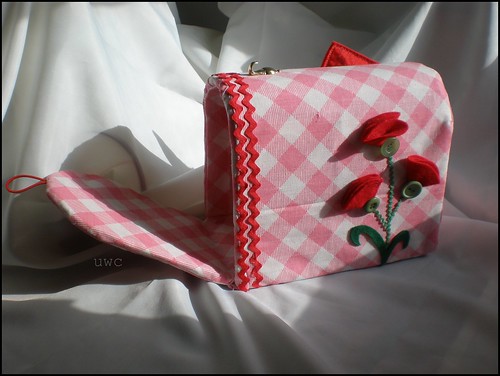
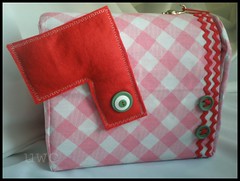
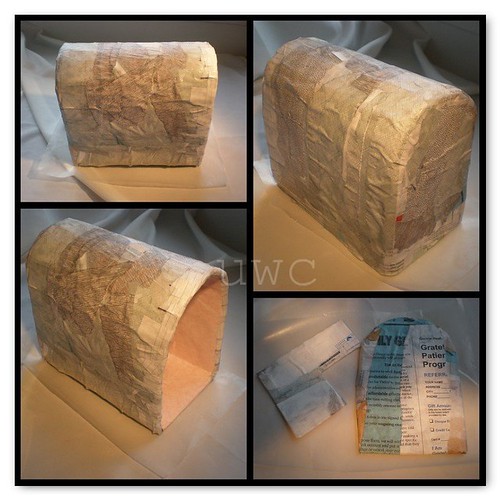
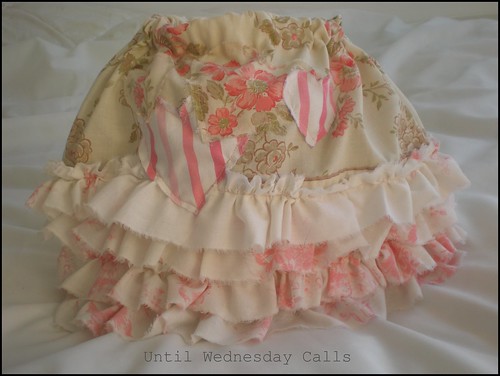
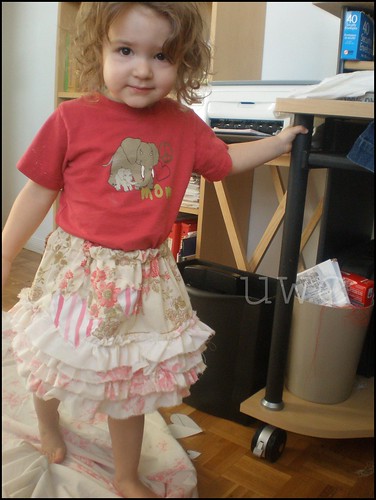
I made the skirt from two vintage bed sheets bought from Value Village. You might even recognize the pink and white fabric from my recent mailbox endeavor? I had been trying to think of a skirt for the wee one when I read this post at Confessions of a Sewing Dork. (She is sewing love!) Anyhoo, the ruffles on the bum of her skirt were just the inspiration I needed.

I had originally made this skirt. I had bought both remnants at a thrift shop that morning and just had to use it in some sort of kilty/punky thing. I loved the frayed ruffle look and so I painstakingly zig zagged down the edge of the cut strips of fabric before I gathered it into ruffles and I used another zig zag stitch to attach the ruffle. Like pinking, zig zag stitches inhibit fraying. I even machine washed and dried the skirt to make sure the the ruffles would not continue fraying. And they didn't but it just didn't scream "FIRST BIRTHDAY!" you know? So, I turned to my brightly coloured vintage sheets. Gosh I love them so much.
To make the finished ruffles I learned how to use yet another foot of my machine. The adjustable narrow hemmer. This is a brilliant little foot. It gives you an 1/8" rolled hem with little effort. I used this foot to hem the strips and the gathering foot to make the ruffles. I thought, I would share with you a quick photo tute on how to make ruffles with rolled hems. The first half are new photos for the narrow hem foot and the second half has photos from the Ruffled Toddler Skirt tute but they mesh well for this. In case you don't want to scroll through the post, here is link to the flickr set done as a tutorial.
Materials
Fabric, cut in strips (I like two inches if one side is finished if both sides need hemming, 2.5" works well.)
Adjustable holder and adjustable narrow hemmer foot for your sewing machine
Second wound bobbin (You will go through at least 1.5 bobbins for this, if you have more and plan on using the same thread for your project I would wind a third bobbin.)
Construction Instructions
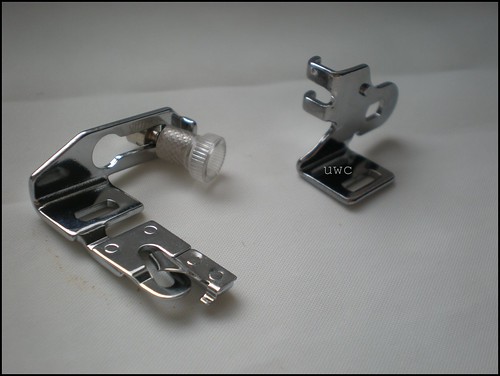
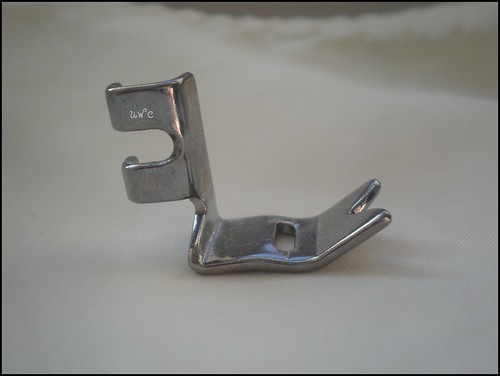
On the left is the adjustable narrow hemmer foot and on the right is the adjustable holder.
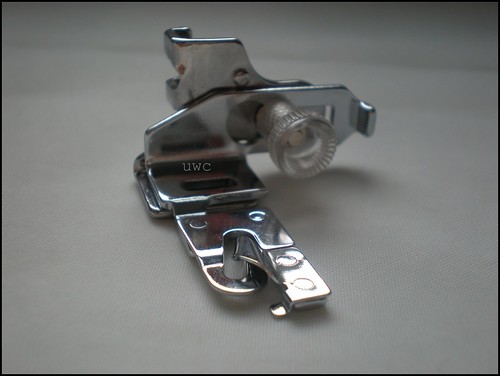
Assembled adjustable holder and adjustable narrow hemmer foot.

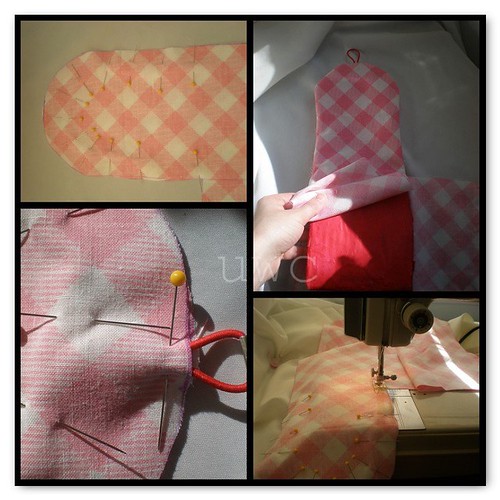
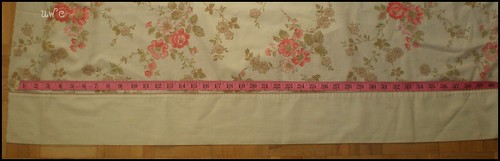
Cut strips from your fabric. TIP. If you are using a sheet and you cut along finished edges you will only have to hem one side of the strips.
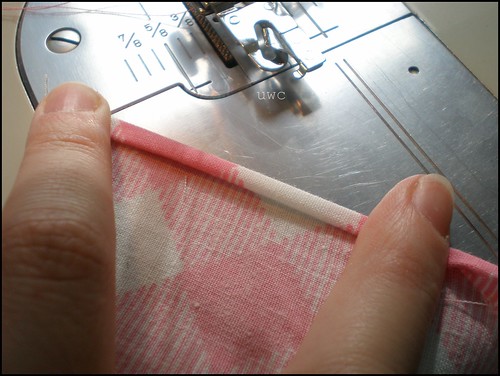
Roll and pinch a couple inches to start the foot off on the right foot. (That is seamstress humour.)

Slide your rolled and pinched fabric underneath the foot and sew about an inch. Once your seam is started roll your fabric into the scroll and keep sewing.
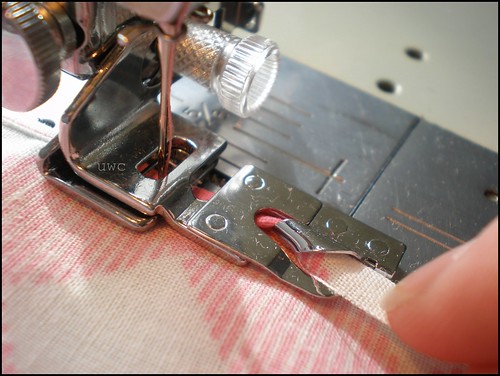
This technique really depends on your vigilance in how the fabric is fed in. Too wide and it flattens out for a single layer hem, too narrow and it does the same.
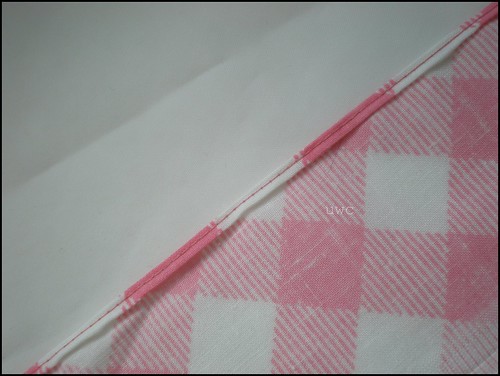
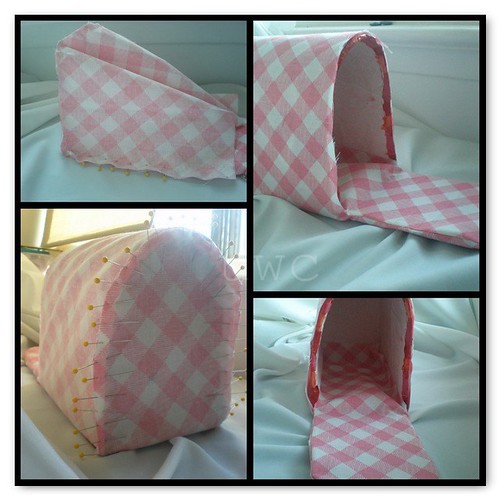
And voila! You now have strips of fabric with a tiny rolled hem. Rinse and repeat for the other side if your strips have two unfinished edges. If not, move on the the second part, detailing how to turn it into ruffles.
Instructional Insert: before you take off this foot and insert the gathering foot, take your pieces of newly hemmed fabric and join them together to make one long strip. (I didn't attach them before hand because I was unsure if the narrow hemmer scroll could accommodate the doubled material.)But the ruffle foot can no problem so now is when yo want to attach your pieces.
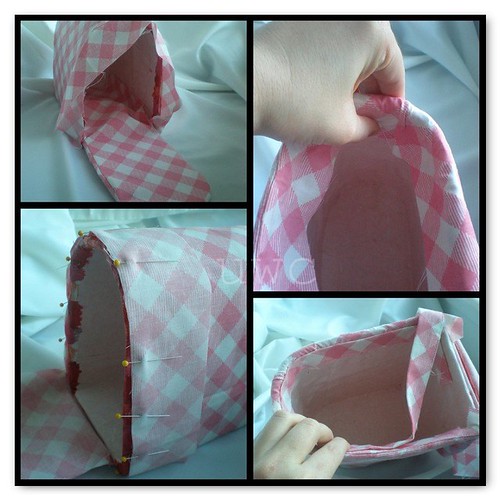
This is a gathering foot. It is my new favourite toy. I mean tool! All you do is attach the foot, put one layer underneath instead of the usual two and 'sew'. Sounds too good to be true right? Not so. Adjust your tension accordingly. The looser the tension, the looser your ruffles, the tighter your tension, the fuller the gather.
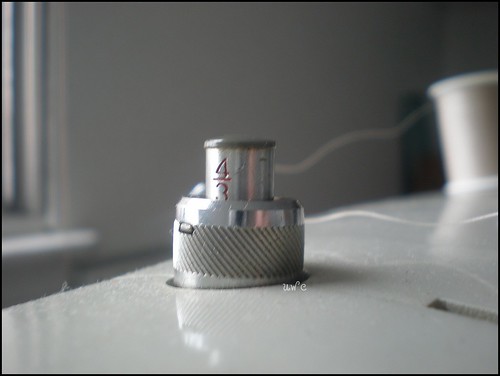
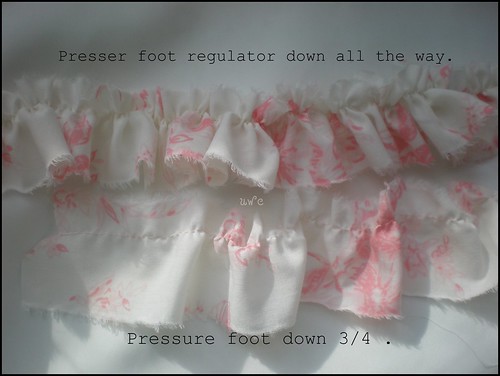
I did this on the tightest tension with the presser regulator 3/4 of the way down to achieve the hand-gathered look, but if you press it down fully you get a perfect, professional looking ruffle.
Don't forget, the fuller the ruffle the more material you will need to achieve your desired length of ruffle.
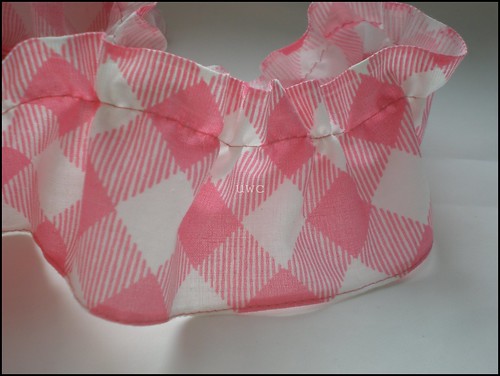
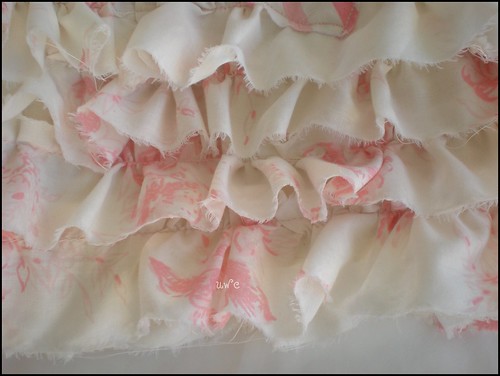
Isn't it gorgeous? See how I used the edge of the sheet for the top of the ruffle so I only had to hem the bottom?
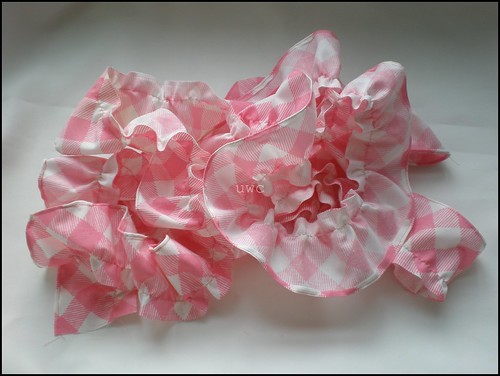
You now have lots of beautiful handmade ruffles!
The end.
I hope that was clear, and I hope you are able to go forth and create. Thanks for stopping by!


