
I love red. Seriously. Since I was a kid I have been choosing red game pieces, red lollipops, red clothing and as an adult I still do that but I also choose red home decor pieces like my red Ikea duvet cover. So it was only natural that when I had two cans of apple red spray paint land in my lap that I go to freakin' town on something right? Well, I did.

Looks like this Island of Misfit home decor doesn't it? It kind of is.
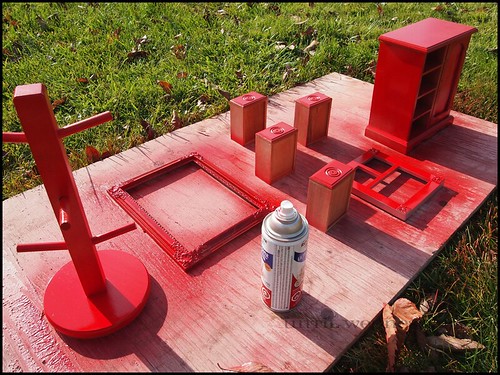
I gathered together two plastic dollar store picture frames, one hideous and almost not even useful jewelry box from my Mom, a thrifted mug rack and an empty picture frame collected during a trip to the dump (not shown). I gave everything three light coats of Rustoleum Apple Red paint, added some cork board here and clip on earrings there and voila!
And voila! You have a gorgeous framed brooch display made in minutes!

This is what happened to my closet when I put it all together! I love it!
While the mug rack is pretty simple (Find one and paint it.) The others do require a bit of a step by step. I am not going to make one or the larger earring display though. All I did was staple some wire mesh I had laying around to the painted frame. I had wanted to use lace but didn't have a piece large enough. I like the bigger mesh though, it supports the bigger post earrings. But i you need a tutorial there are lots of great ones out there. Here, here, and here are all great ones to get you started.
In this post I am going to run through the brooch display. I'll post the step by step for the jewelry box in just a couple days.
Picture frame finished to your liking
Piece of cork board at least as big as your frame
Piece of batting (or any bulky sot material like felt or fleece) as big as frame
Piece of fabric a couple inches larger than your frame
Gather Ye Tools
Hot glue gun and glue sticks
Picture hanging hardware in case your frame doesn't have that. (Mine didn't)
Begin at the beginning...
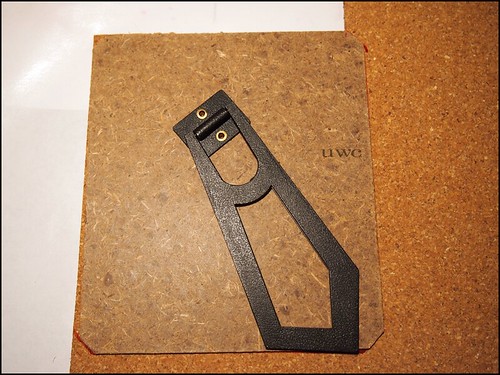
Step 1: Place your frame backing on a piece of cork and trace. Cut out your cork and fit it in the frame. make any necessary adjustments.
Step 2: lay cork on batting and trace. Cut.

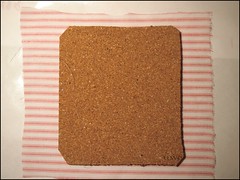
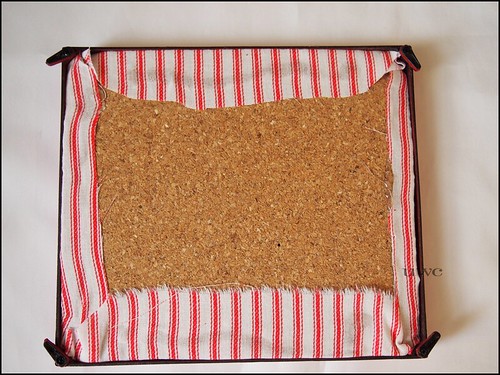
Step 3: Layer your fabric, your batting and your cork board so that the cork is on top and fabric is on the bottom.

Fold each side over and glue with hot glue one side at a time. Do this in opposite sides creating a nice taught front piece of fabric.

Step 5: Flip over and check for taughtness or in my case wavy stripes.
Step 6: Fit back into frame.
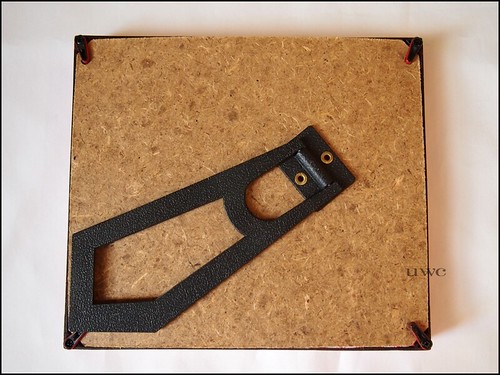
Step 7: If you are using the frame as a dresser top display, this is where you try and squeeze the back, back into the frame.
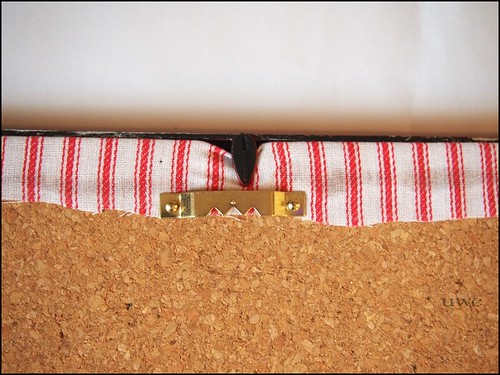
Step 7.5: If you can't fit the frame back on, or want to hang the display on the wall using tack, little nails or a good glue attach picture hanging hardware directly to the cork board.
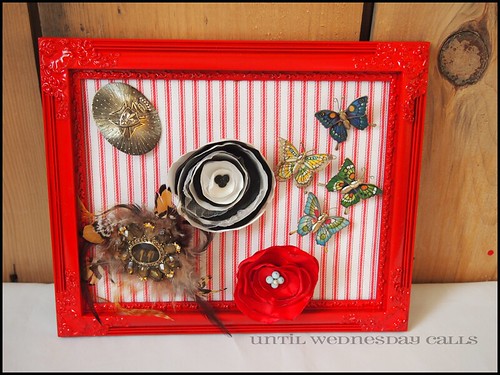
And voila! You have a gorgeous framed brooch display made in minutes!
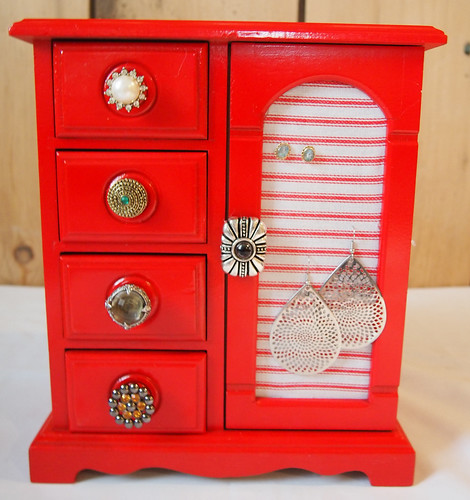
Come back soon to see how I made this gorgeous little number!









1 comment:
Just Magnificent! I have found some of most extreme features from this source and that one is surely looking one of the classy contents for the home decoration and mind blowing impression. Thanks for sharing some of most inspiring art in the same source.
frames for photos
Post a Comment