Friday, June 1, 2012

Wednesday`s Rainbow (the Skirt)

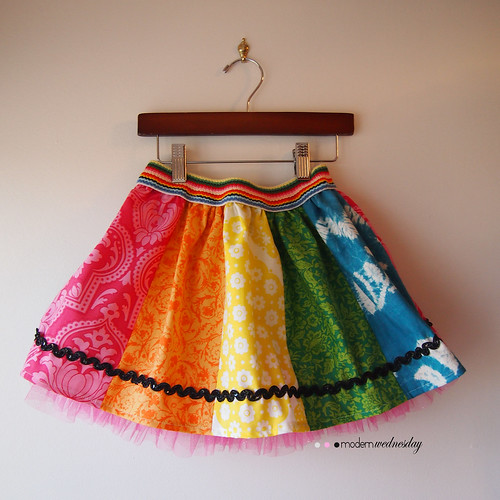
Sometimes we make things we are ridiculously proud of. This skirt is on of those things. I made it as an Easter gift for Wednesday but I loved it so much I made a second and sold it at Modern Wednesday a couple weeks ago. I absolutely had to enter it in the Crafterhours Skirt Week contest.


rainbow skirt 
This skirt just has so many little touches I couldn't not enter it.

  rainbow skirt pink tulle and sequin close up 
Like the gorgeous pink, sparkly tulle peek-a-boo ruffle.

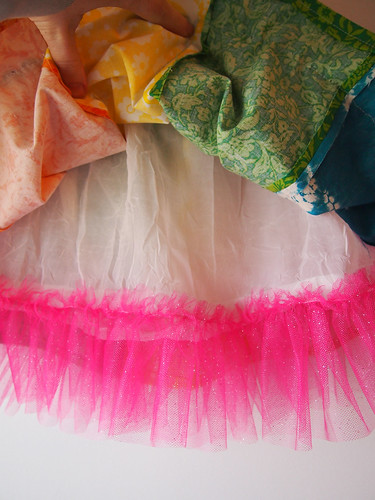
raibow skirt liner tulle ruffle detail 
This was the first skirt I added a soft liner to. I now add liners to every skirt I make with ruffles for added volume.
rainbow skirt sequin close up 
The gorgeous sequined ric rac was from a box of vintage trims I bought on Ebay. For the longest time I couldn't decide what to use it on, this skirt was perfect (Even if I did break two needles on the sequins!). It glitters in the sun.

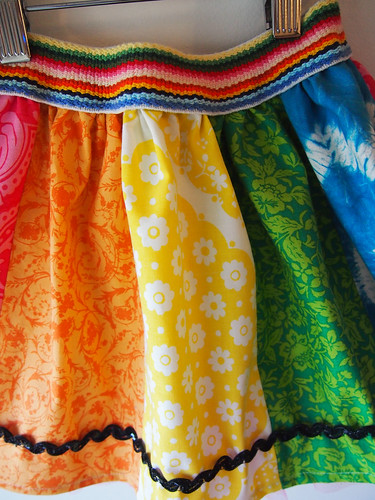
rainbow skirt waistband detail 
This elastic waistband material is what inspired the skirt. 

rainbow skirt ric rac echos waistband
Doesn't the ric rac echo the waistband perfectly?

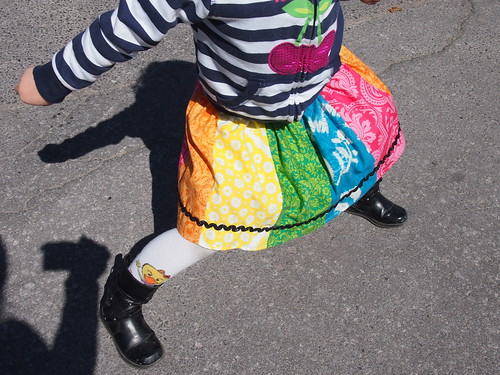
  Wednesday's Rainbow Skirt 
Close up action shot.

Wednesday's Rainbow Skirt
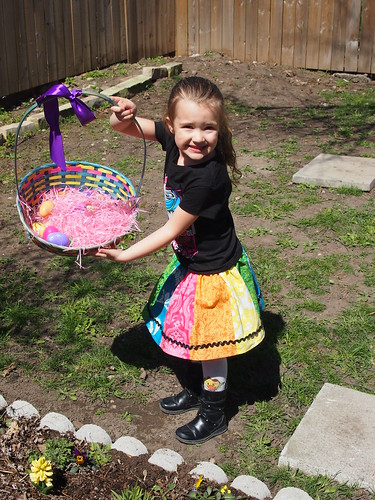
Don't you love how a little girl 'poses'?

Wednesday's Rainbow Skirt
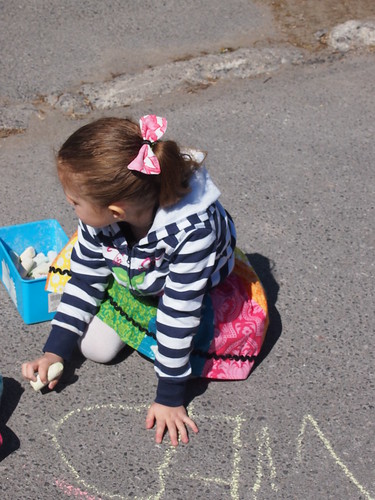
I sew for wearing and playing, but I won't lie. Crawling on the concrete with sidewalk chalk ten minutes after receiving the skirt made me cringe. 

Wednesday's Rainbow Skirt
But doesn't she look wonderful?!


crafterhours

♥ Wish me luck! ♥

Thursday, May 31, 2012

Sunshine Patchwork Skirt

It is no secret that Wednesday is my muse. From the moment I began creating since her birth. First scrapbooking and then sewing. So when I am in between creative bursts I look to her for inspiration. Last week I asked her what sort of skirt she would like next. She replied with a simple "Sunshine skirt."

At first I thought maybe I could do some applique work, use up some vintage ribbons and such but after a couple of hours of cutting and placing it.just.wouldn't.work. I decided to stop forcing it. Packed up the cut pieces and watched Sherlock. The next morning I woke up and was instantly inspired. I set to work after getting Wednesday off to school and by noon I had finished this little number. And so I present my second entry into the Crafterhours Skirt Week 2012 contest.

sunshine-skit-cropped
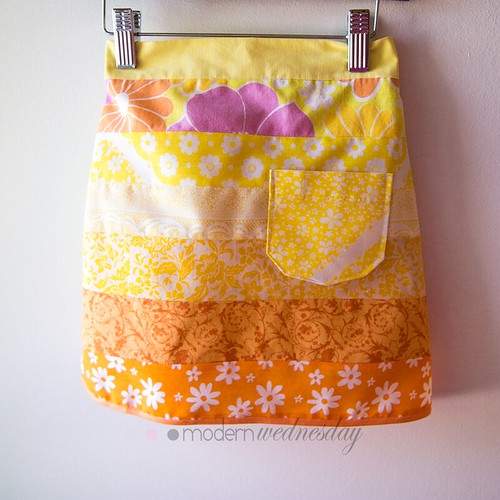
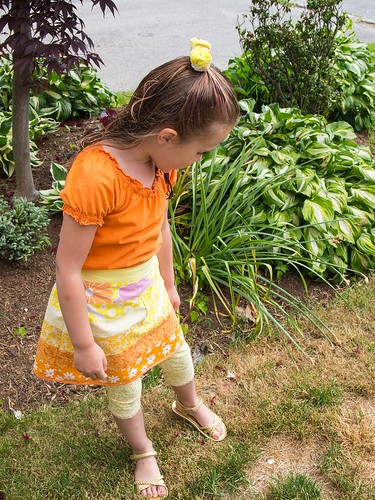
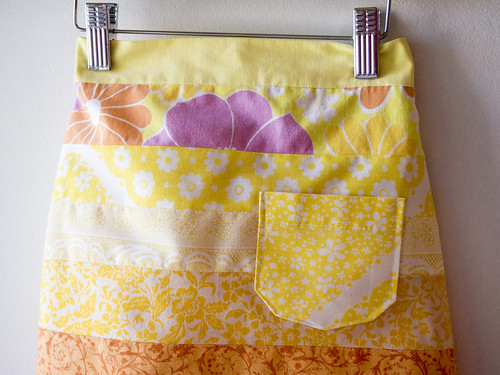
I call it the Sunshine Skirt. Made up of remnants from vintage sheets, new and vintage pillowcases and new(ish) yardage it is the sunniest skirt I have made.

sunshine-skirt
It fit Wednesday like a dream with room to both play and grow.

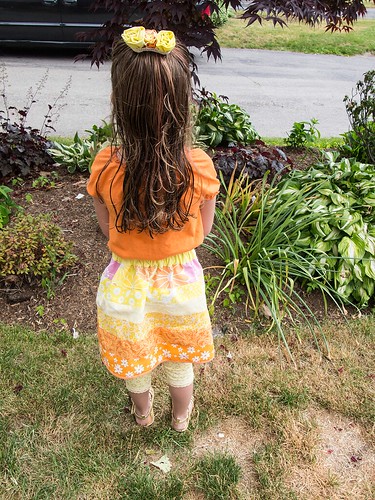
sunshine-skirt-back
I have finally figured out how to make the back of a skirt longer than the front to compensate for little girls belly's and bubble bums.

front right side detail
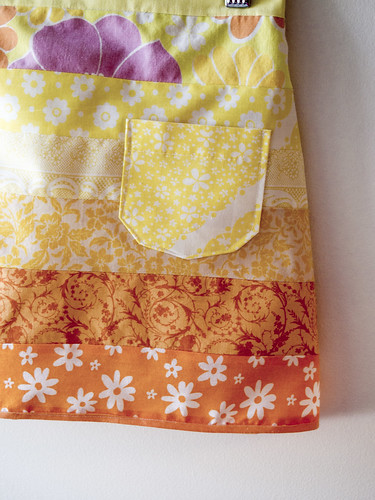
This is Wednesday's first skirt by me with a pocket. I would have liked to make it a bit more ornate but I think the simple approach works well with the skirt.

front top view
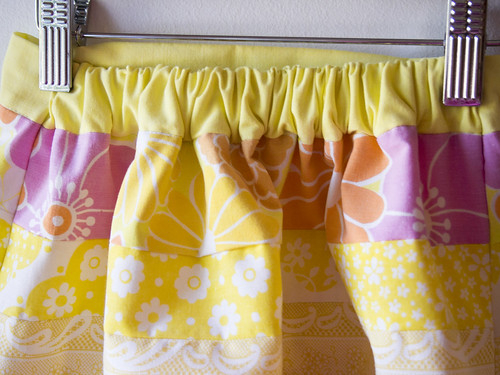
I have started to sew my waistbands with a 'stitch-in-the-ditch' quilting technique that lends itself well to clothing.

front right corner detail
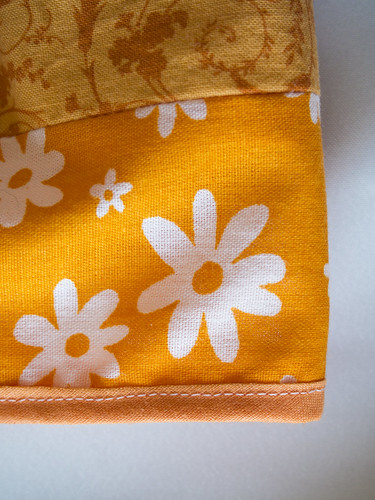
I wasn't sure what I was doing at the hem (I usually do something ruffled.) so when I found some old orange bias tape I used it instead of hemming and losing length.

sunshine back waist detail
I love how the skirt has a fitted front panel and this elasticized back panel. Style and comfort in one little skirt.

sunshine-hair-flowers
I could not resist making a matching hair piece. This is three gather flowers made from the scraps and glued to a French clip and finished with vintage lace.

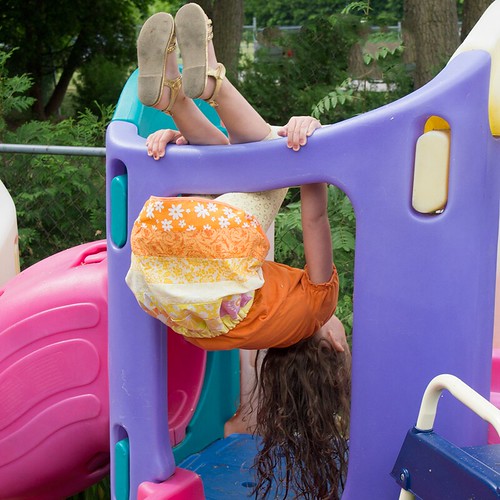
sunshine-playability
I'd say the skirt is comfortable to play in wouldn't you?

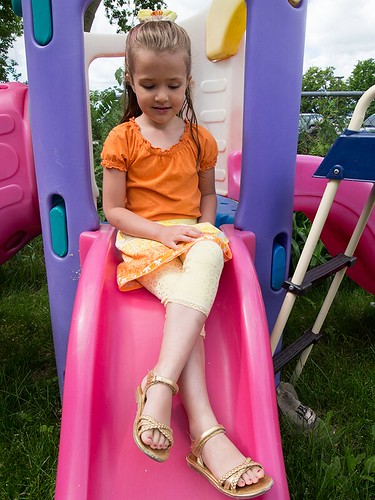
sunshine-skirt-lady
My little lady. ♥


crafterhours

♥Wish me luck! ♥

Wednesday, May 30, 2012

Wednesday on Wednesday

Every now an again I am reminded that I have a little girl who wants to be just like her mama. I had a luncheon date on the weekend and when Wednesday saw me in a white dress and pink heels, she had to dress the same. I wish we had gotten a better photo, but this one warms my heart.

The other day, Wednesday paid me the best compliment. She said "Mama, when I grow up I want to be a mama. Just like you." *melt*

Happy Wednesday everyone. ♥ ♥ ♥

Tuesday, May 29, 2012

Fabulous Five: DIY Humbingbird Feeders


You know what I love? Hummingbirds. Really though, who doesn't? Satan maybe. Ooh, and the bugs they eat. Still, I think we (those of us with opposable thumbs and the ability to read) can agree that hummingbirds make us smile. While I was standing on my deck this morning I realized I had nary a feeder and while I was at Wal-Mart I realized that I did not enjoy the plastic sort.

So for our (mostly mine) own benefit I rounded up a few very pretty DIY options. And because most o them require hummingbird feeder tubes I sourced both packs of twelve and single tubes.

Isn't this just the prettiest? Made from a plastic bottle and several plastic spoons. Visit The Shabby Beach Nest for the tutorial.

A glass bottle, copper tubing and a feeder tube come together to make this gorgeous number from Birds and Blooms

Pretty glass beads on recycled clear glass bottles come together or this feeder from Think Crafts.


This clever option from Cultivating Life is what I will be making while I wait or my hummingbird feeder tubes to come in the mail.

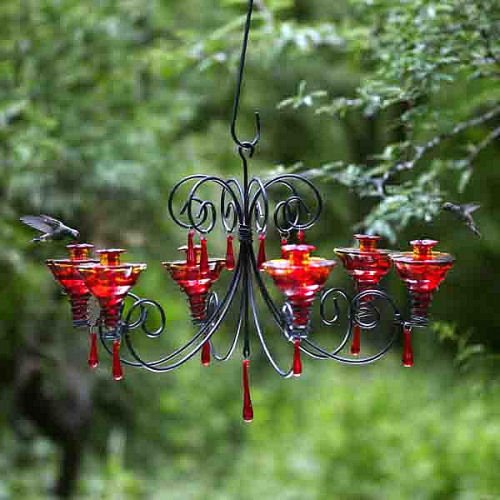
And because this is Fabulous Five, not Fabulous Four, I give you one more truly fabulous hummingbird feeder.

Have fun and stay cool while you're in your gardens!

Monday, May 28, 2012

Ruffle Bum Vintage Sheet Skirt


crafterhours

Skirt Week is upon us again and it just so happens I have a few entries for this year's contest, so bear with me as I publish a couple of posts tooting my own horn.


Presenting the Vintage Sheet Ruffle Bum Skirt!


 Front view. This skirt is made from two of my very favourite vintage sheets in my stash.

 The skirt does have a soft lining with an attached aqua tulle peek-a-boo ruffle.

The back of the skirt has four rows ruffles that I double sided - narrow hemmed myself before ruffling.

 Back left close up.

Back right close up.

The skirt was inspired by this one I made two years ago for family member's little one.


Rufflebum Skirt

Sometimes you just can't let go of a good idea. <3 Wish me good luck!

Thursday, May 24, 2012

Modern Wednesday Has Arrived!

I have been away again. But I have a great excuse! I have been creating, but with a different purpose than usual! *drumroll please*


I have opened a shop! It is technically an online shop called Modern Wednesday but all of my sales have been local (semi) custom orders. So it has been an exciting couple of months. And let me tell you, nothing gets the creative juices flowing like a sense of purpose! Would you like to see a couple items from my shop? Awesome!


Pretty snazzy stuff isn't it! Some of it you might even recognize them from old tutorials and pictures. 
There is three times those listings at the shop though. Also, I have galleries set up of my favourite projects that I encourage people to order custom made projects. Remember my very first sewing project ever? The bean bags? Well, someone ordered a set of eight as sensory toys for her son with Autism. Remember Wednesday's felt crown? Well I made the prettiest girly version of it this week for another custom order.

I chose Indiemade to host my website and shop because it was an all inclusive flat rate price that includes hosting, design and a shopping platform. I can have up to 13 galleries with unlimited photos within. I can list up to 100 items in my shop at a time and there is no commission for Indiemade. The biggest selling point for me though was that customers DO NOT NEED an account to shop at my shoppe! I love that. Believe it or not, a lot of people in my life do not shop within Etsy's 'borders'. Some don't even know what 'an Etsy' is.  So I didn't see the point in complicating the process for my local customers all the while giving my customers access to my competition.
That being said, I have an Etsy storefront, I just haven't decided how to divvy up my listings between the two. Suggestions?

I also have a Facebook fan page for those of you that would like to follow for sneak peaks and discounts! I update regularly with 'In The Making' photos as well as 'In The Shoppe' photos.

So there you have it. That is what has been eating up all my spare time. When I am not playing mom and homemaker I am playing maker and shopkeeper. I like my new hat(s). I have not given up on this blog, I swear I just have to find a balance because Storage Geek is still going strong as well. I'm nearly at 30,000 readers! So lots of stuff here, all awesome.

Cheers!


Wednesday, May 2, 2012

Wednesday on Wednesday

Wednesday and I went for our very first Mommy-Daughter salon visit. Wednesday got a trim, straighten and the fuchsia that Daddy has been promising her. She also sprayed me down with the shampoo hose by accident.  That was awesome, thank goodness we were the last ones in the shop.

Wednesday, April 25, 2012

Wednesday on Wednesday


Sweet and silly. My favourite combination in a little girl.

Tuesday, April 24, 2012

How To: Felt PIn Wheel Wreath

Wow, that is some seriously dreary weather lately isn't it? Makes you wish spring would disappear and summer would get here doesn't it? Well, to help pull me out of the grey weather funk I made the cheeriest wreath this morning!

Pretty as a picture isn't it? And it came together so fast I just had to share the how to! It mostly consists of a pinwheel primer (in case you have never made a single one in grade school. Seriously though, how did you let that happen?)

Get together your supplies which consist of:
1 wreath form
6 squares of felt (4)4" squares and (2)5.5" squares
3 Buttons
Enough lace and/or ribbon to wrap around the wreath
Rotary knife or scissors
Glue gun & sticks (But a needle and thread can be used in its stead)

Here are the super simple steps!
1. Lay out your squares of felt and layer them two to a pile. (I love the contrasting colours of each wheel.)

2. Find the centre and using a rotary knife or scissors, cut to almost the center.
3. Add glue to the centre and fold over one piece and affix. Your back layer might reach the centre but probably won't. I folded both pieces at the same time but had to add a bit of glue to the bottom layer and the point sat just outside the centre. (Don't worry though, the button will cover it.)
4. Continue with all four corners until your pinwheel looks like this.
5. Glue button to centre.
6. Rinse and repeat for the next two pinwheels. Aren't they just adorable?!
7. Pull out your wreath for and do a lace/ribbon mock up. I scavenged some lace from my jars for this. I actually used four different pieces so I wanted to make sure they would all fit.
8. Glue ends (if you have multiple pieces)and wrap evenly.

 9. Glue your pinwheels on and you are done! Now hang that baby and brighten your mood!

Hope you enjoyed this tutorial! Happy crafting!